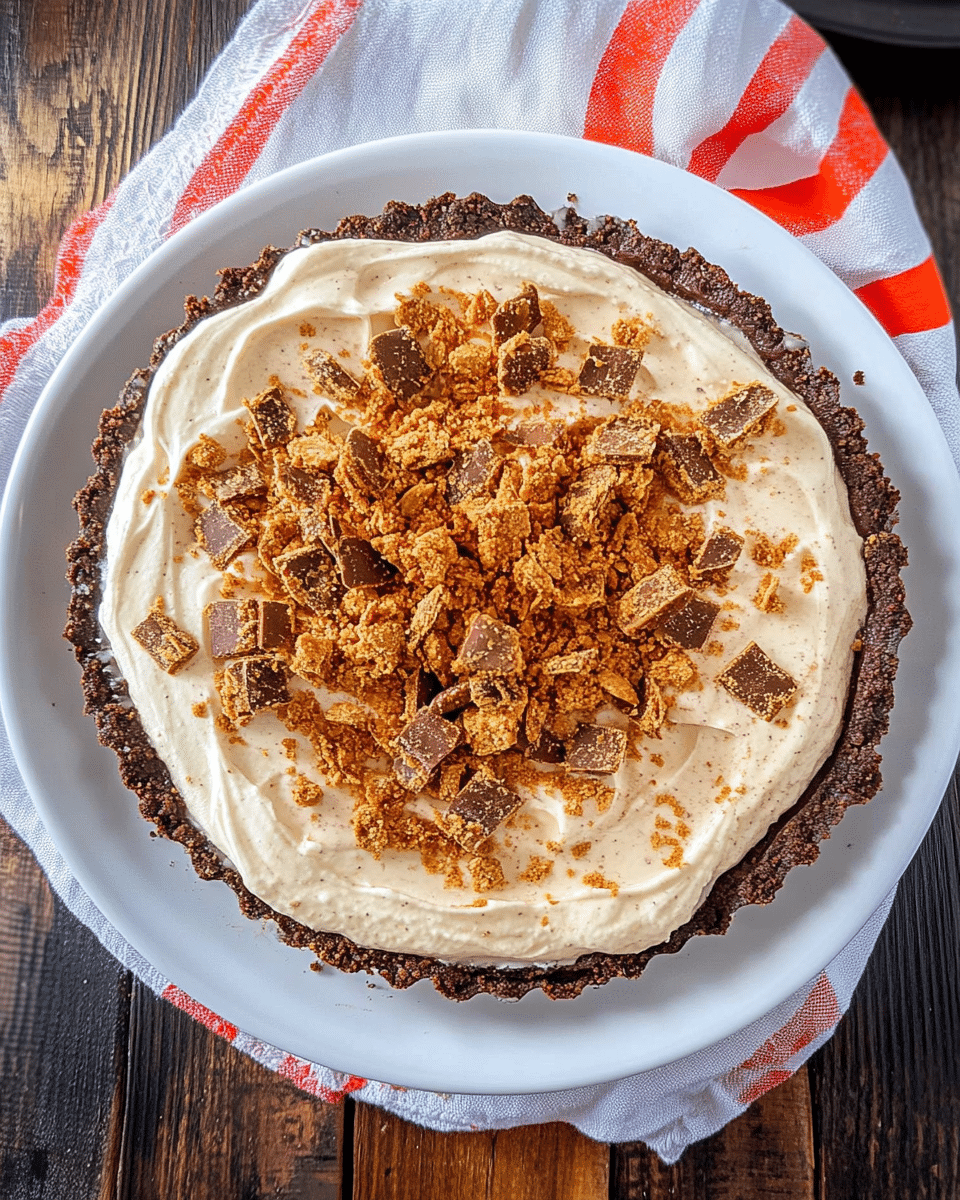
No-Bake Butterfinger Pie is the ultimate dessert for anyone with a sweet tooth. With an Oreo cookie crust, a creamy peanut butter filling, and crunchy Butterfinger pieces, this indulgent treat comes together quickly without the need for an oven. It’s the perfect dessert for any occasion, offering a delightful combination of flavors and textures that will leave everyone asking for more.
Why You’ll Love This Recipe
This No-Bake Butterfinger Pie is creamy, crunchy, and perfectly sweet. The rich peanut butter filling pairs wonderfully with the crushed Butterfinger pieces, while the Oreo crust adds a deliciously chocolatey base. The best part? It’s a no-bake recipe, meaning you can easily prepare it ahead of time and simply let it chill in the fridge. It’s the perfect dessert for parties, gatherings, or just a simple treat at home!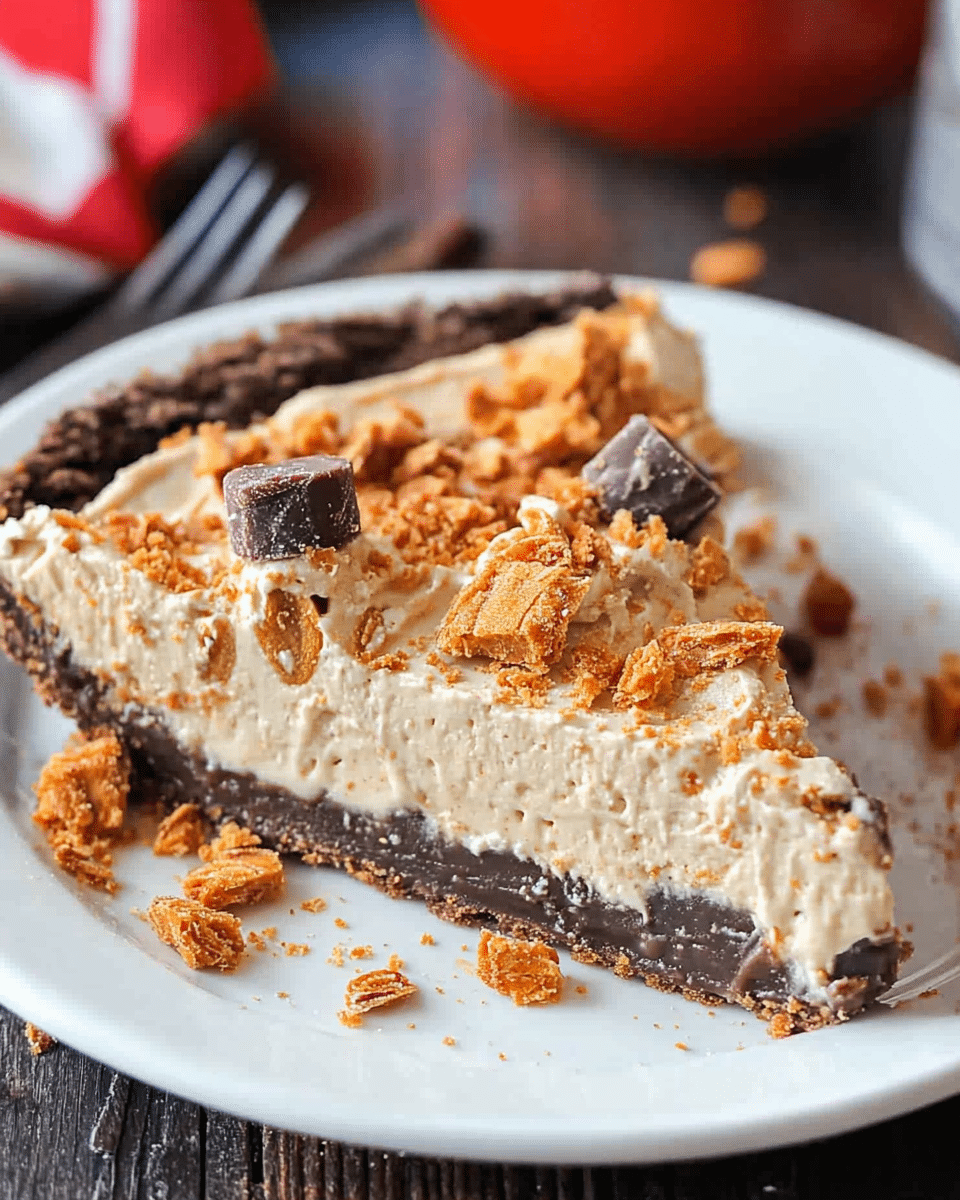
Ingredients
-
20 Oreo cookies (about 2 cups)
-
1/4 cup butter, melted
-
1 (8-ounce) package cream cheese, room temperature
-
1/2 cup peanut butter
-
1 1/2 cups powdered sugar
-
2 teaspoons vanilla extract
-
10.2 oz bag fun-sized Butterfinger bars
-
1 (8-ounce) container Cool Whip
(Tip: You’ll find the full list of ingredients and measurements in the recipe card below.)
Directions
-
Place the Oreo cookies in a food processor and pulse until they form crumbs. You should have about 2 cups of crumbs.
-
Add the cookie crumbs to a medium bowl, then mix in the melted butter until well combined.
-
Press the cookie mixture into a pie plate, forming a firm crust.
-
In a medium bowl, beat the cream cheese and peanut butter on medium-high speed until creamy.
-
Add the powdered sugar and vanilla extract and mix until well combined.
-
Place the Butterfinger bars into a large ziplock bag and gently crush them with a mallet or rolling pin until you have small chunks.
-
Fold the crushed Butterfingers (reserving 1/2 cup for topping) and Cool Whip into the peanut butter mixture until evenly combined.
-
Spread the filling into the prepared cookie crust and sprinkle the reserved Butterfinger pieces on top.
-
Chill the pie in the refrigerator for 4 hours before serving.
Servings and timing
-
Prep Time: 15 minutes
-
Chill Time: 4 hours
-
Total Time: 4 hours 15 minutes
-
Servings: 8 servings
Variations
-
Chocolate Drizzle: Drizzle some melted chocolate over the top for an extra indulgent touch.
-
Peanut Butter Cup Pie: Add chopped peanut butter cups to the filling or as a topping for even more peanut butter flavor.
-
Gluten-Free: Use gluten-free Oreos and check the labels of your other ingredients to make this pie gluten-free.
-
Nut-Free: If you need a nut-free version, you can substitute the peanut butter with sunflower seed butter or another nut-free spread.
-
Mini Pies: Make individual portions by using mini pie dishes or tart pans for a fun presentation.
Storage/Reheating
-
Storage: Store leftover pie in an airtight container in the refrigerator for up to 3 days.
-
Reheating: This pie is best served cold and does not require reheating.
FAQs
Can I make this pie ahead of time?
Yes, this pie can be made ahead of time. It needs at least 4 hours to chill in the fridge, but you can make it the day before and let it chill overnight for even better flavor.
Can I use a different kind of cookie for the crust?
Yes, you can use any cookie that you prefer, such as chocolate chip cookies or graham crackers, if you don’t want to use Oreos.
Can I substitute the Cool Whip with whipped cream?
Yes, you can substitute Cool Whip with homemade whipped cream. Just be sure to whip the cream until stiff peaks form before folding it into the filling.
How do I crush the Butterfinger bars without making a mess?
Place the Butterfinger bars in a large ziplock bag and crush them with a rolling pin or mallet. This keeps the mess contained while still giving you the right texture for the filling and topping.
How do I know when the pie is ready to serve?
The pie should be well-chilled and firm after about 4 hours. If the filling is set and the top is firm, it’s ready to serve.
Can I freeze this pie?
Yes, you can freeze the pie for up to 2 months. Just be sure to cover it well with plastic wrap and aluminum foil. Let it thaw in the refrigerator for a few hours before serving.
Can I use homemade peanut butter for this recipe?
You can definitely use homemade peanut butter, but make sure it has a similar consistency to store-bought peanut butter. If it’s too runny, it might affect the texture of the filling.
Can I use different candy bars?
Yes, you can swap the Butterfingers for another candy of your choice, such as Snickers, Reese’s Pieces, or M&Ms for different flavor combinations.
How can I make this pie more festive?
You can add festive sprinkles or decorations, or serve it in smaller, individual dishes for a fun party presentation.
What’s the best way to slice the pie?
Use a sharp knife and dip it in warm water before cutting into the pie. This will help the slices come out neatly.
Conclusion
No-Bake Butterfinger Pie is a creamy, decadent dessert that comes together with minimal effort. With its crunchy Oreo crust, rich peanut butter filling, and sweet Butterfinger topping, this pie is sure to be a crowd-pleaser. Whether you’re hosting a party or just looking for a treat to indulge in, this no-bake dessert is the perfect option. It’s easy, delicious, and guaranteed to impress!
Print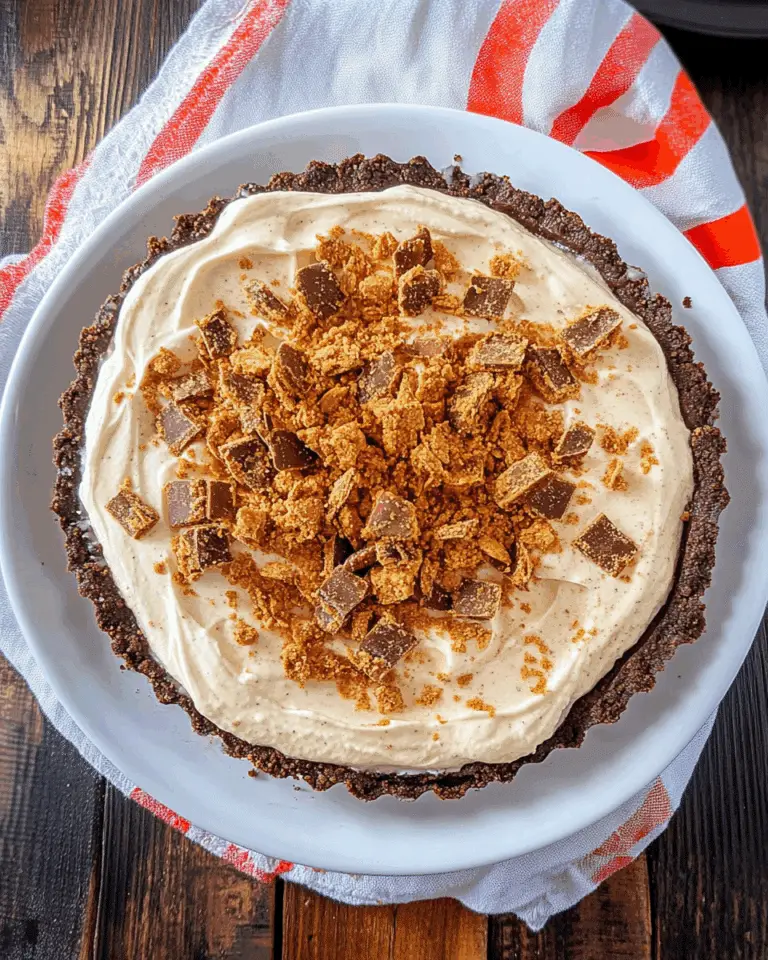
No-Bake Butterfinger Pie
This creamy and indulgent No-Bake Butterfinger Pie features an Oreo crust, a peanut butter filling, and crunchy Butterfinger pieces, making it a perfect dessert for any occasion. No oven required!
- Total Time: 4 hours 15 minutes
- Yield: 8 servings
Ingredients
- 20 Oreo cookies (about 2 cups)
- 1/4 cup butter, melted
- 1 (8-ounce) package cream cheese, room temperature
- 1/2 cup peanut butter
- 1 1/2 cups powdered sugar
- 2 teaspoons vanilla extract
- 10.2 oz bag fun-sized Butterfinger bars
- 1 (8-ounce) container Cool Whip
Instructions
- Place the Oreo cookies in a food processor and pulse until they form crumbs. You should have about 2 cups of crumbs.
- Add the cookie crumbs to a medium bowl, then mix in the melted butter until well combined.
- Press the cookie mixture into a pie plate, forming a firm crust.
- In a medium bowl, beat the cream cheese and peanut butter on medium-high speed until creamy.
- Add the powdered sugar and vanilla extract and mix until well combined.
- Place the Butterfinger bars into a large ziplock bag and gently crush them with a mallet or rolling pin until you have small chunks.
- Fold the crushed Butterfingers (reserving 1/2 cup for topping) and Cool Whip into the peanut butter mixture until evenly combined.
- Spread the filling into the prepared cookie crust and sprinkle the reserved Butterfinger pieces on top.
- Chill the pie in the refrigerator for 4 hours before serving.
Notes
- For a twist, add a drizzle of chocolate syrup or melted chocolate over the top before serving.
- If you prefer a firmer crust, you can chill the crust for 10-15 minutes before adding the filling.
- This pie can be stored in the fridge for up to 3 days.
- Prep Time: 15 minutes
- Cook Time: undefined
- Category: Dessert
- Method: No-Bake
- Cuisine: American
- Diet: Vegetarian
Nutrition
- Serving Size: 1 slice
- Calories: 586 kcal
- Sugar: 50g
- Sodium: 330mg
- Fat: 34g
- Saturated Fat: 14g
- Unsaturated Fat: 18g
- Trans Fat: 0g
- Carbohydrates: 64g
- Fiber: 2g
- Protein: 7g
- Cholesterol: 40mg

