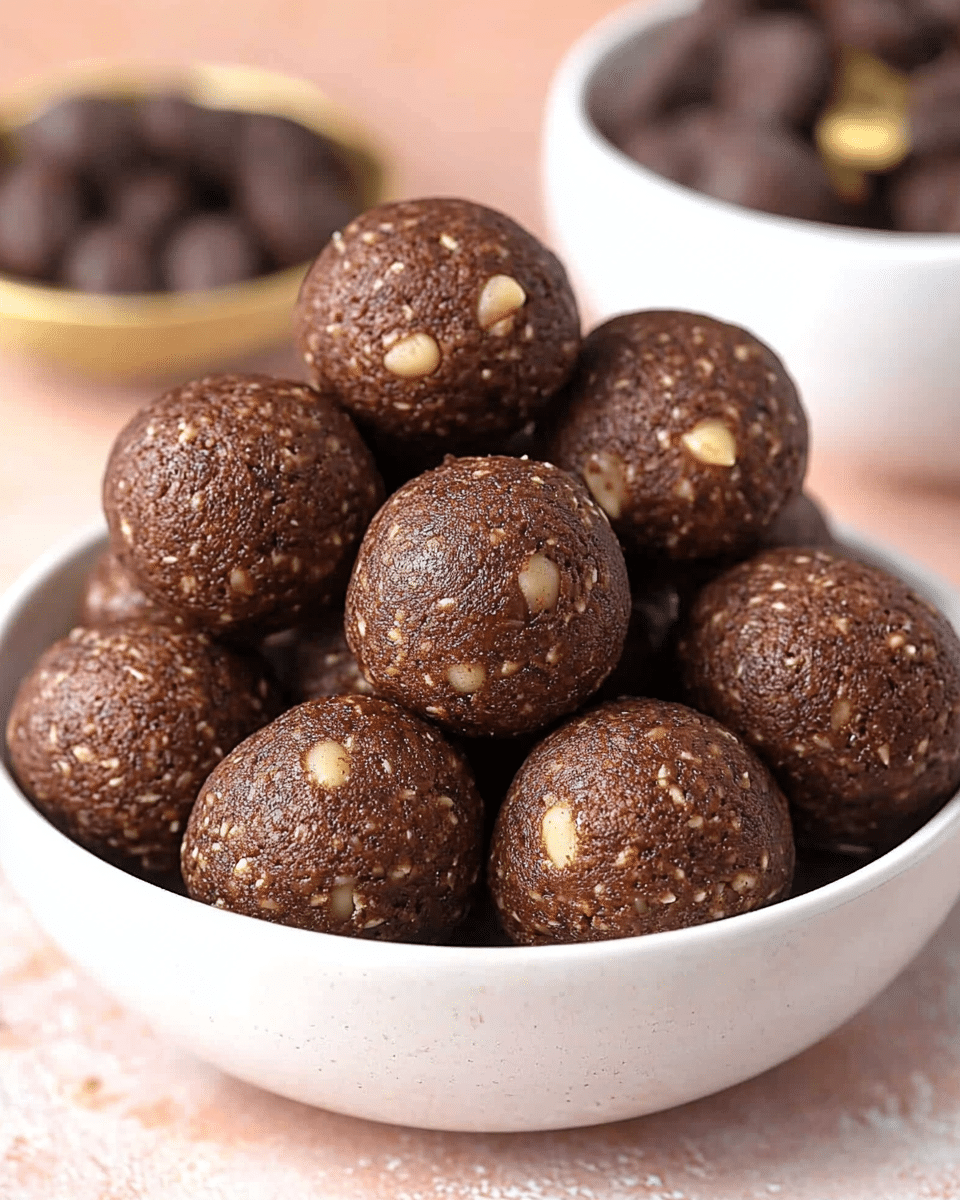
These deliciously rich, brownie-like chocolate protein balls are the perfect low-carb, high-protein snack. Packed with healthy fats and protein, they’re ideal for fueling up before or after a workout.
Why You’ll Love This Recipe
These Chocolate Protein Balls are the perfect combination of indulgence and nutrition. With almond butter, chocolate whey protein, and cocoa powder, they’re rich and chocolatey, while still being packed with protein and healthy fats. Whether you need a post-workout snack or an on-the-go breakfast, these protein balls are quick, easy, and satisfy your sweet tooth.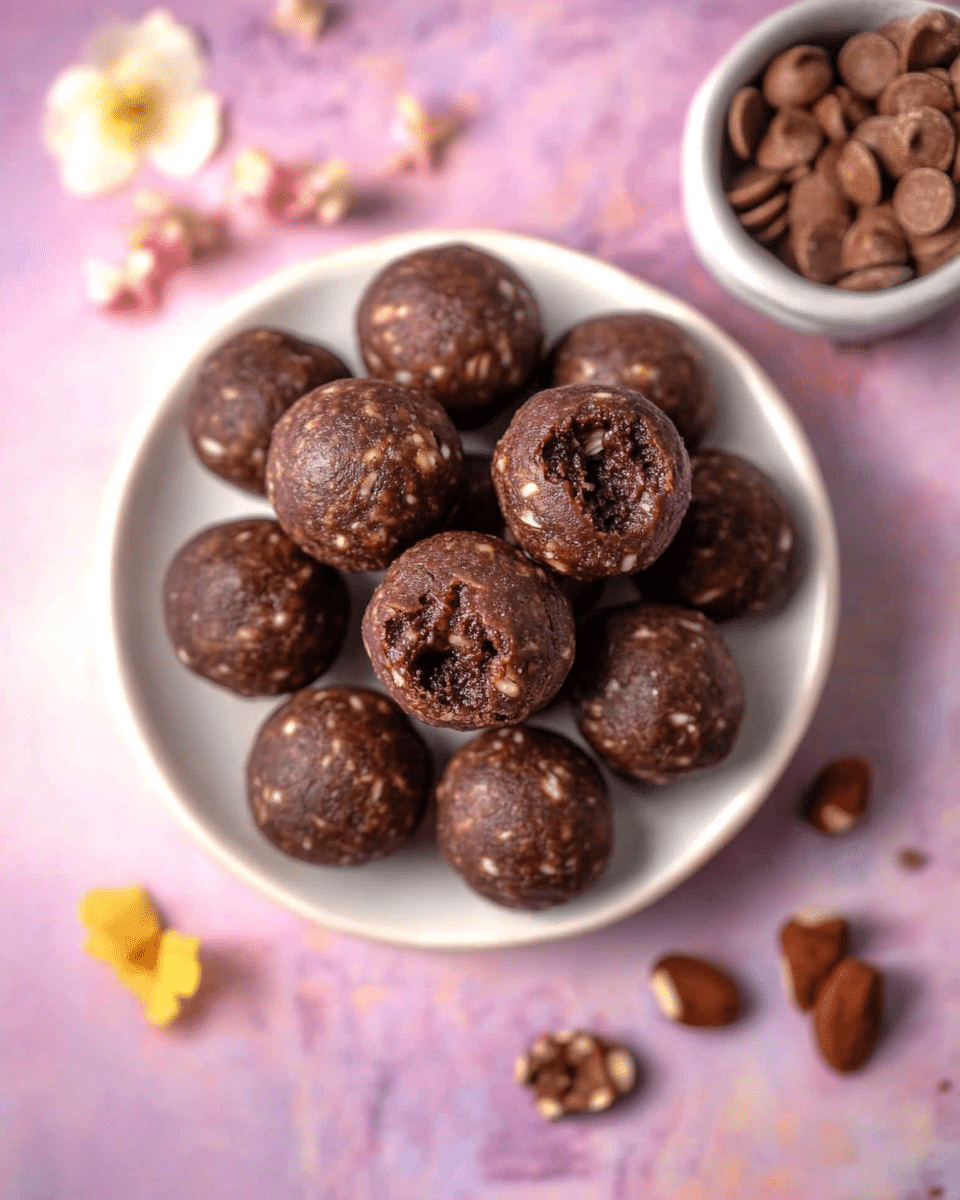
Ingredients
2/3 cup (166.67 g) almond butter (or other smooth nut butter)
2 tablespoons avocado oil (or melted butter)
1/4 cup (50 g) liquid allulose (or substitute with 1/4 cup powdered sweetener and water, see notes)
1 teaspoon vanilla extract
3/4 cup (81 g) chocolate whey protein powder
1/4 cup (33.75 g) nut flour (pecan, walnut, or almond)
2 tablespoons cocoa powder
1/8 teaspoon salt (if nut butter is unsalted)
2 tablespoons mini keto chocolate chips
2 tablespoons finely chopped walnuts or pecans (optional)
(Tip: You’ll find the full list of ingredients and measurements in the recipe card below.)
Directions
-
Mix the Base: In a large bowl, stir together almond butter and oil until well combined. Add in the liquid allulose and vanilla extract, mixing until smooth.
-
Add Dry Ingredients: Stir in the protein powder, nut flour, cocoa powder, and salt. Continue mixing until a cohesive dough forms and can be easily rolled into balls.
-
Incorporate Add-ins: Fold in the mini chocolate chips and optional chopped walnuts or pecans until well distributed.
-
Roll the Balls: Roll the dough into 1-inch balls and place them on a tray. Refrigerate for at least 1 hour, or until firm.
-
Store and Enjoy: Store the protein balls in a covered container on the counter for up to 5 days, or in the fridge for up to 2 weeks. They can also be frozen for several months.
Servings and Timing
Prep Time: 15 minutes
Total Time: 15 minutes
Servings: 10
Variations
-
Sweetener: You can use any sweetener you prefer, including monk fruit, stevia, or coconut sugar.
-
Different Nut Flours: Substitute with other nut flours like hazelnut or cashew flour for different flavors and textures.
-
Add-ins: Mix in dried fruit like cranberries or raisins for extra sweetness.
Storage/Reheating
Store in an airtight container on the counter for up to 5 days or in the fridge for up to 2 weeks. You can also freeze them for up to 3 months.
FAQs
Can I use a different protein powder?
Yes, you can use any flavor of protein powder, but chocolate or vanilla works best for this recipe.
How many protein balls should I eat in a day?
It depends on your dietary needs, but typically 1–2 protein balls make a great snack or light meal.
Can I make these protein balls vegan?
Yes, use a plant-based protein powder and swap the honey for maple syrup or another vegan sweetener.
Can I make the dough ahead of time?
Yes, you can refrigerate the dough for up to 2 days before rolling into balls.
How do I know if they are firm enough?
The protein balls should be firm enough to hold their shape but not too hard. Refrigerating them for an hour will ensure the right consistency.
Can I freeze these protein balls?
Yes, freeze them for up to 3 months. Just place them in a freezer-safe container or bag.
Can I add more flavoring?
Yes, add cinnamon, vanilla extract, or even a pinch of sea salt for more flavor depth.
Can I make these without nut butter?
Yes, you can substitute the nut butter with sunflower seed butter or tahini if you need a nut-free option.
How can I make them sweeter?
Add more sweetener or a little bit of maple syrup for extra sweetness.
Are these gluten-free?
Yes, they are gluten-free if you use gluten-free protein powder and nut flours.
Conclusion
These Chocolate Protein Balls are a perfect snack to satisfy your chocolate cravings while keeping your energy levels high. With their rich, fudgy texture and balanced nutritional profile, they’re perfect for pre or post-workout fuel or as a healthy treat!
Print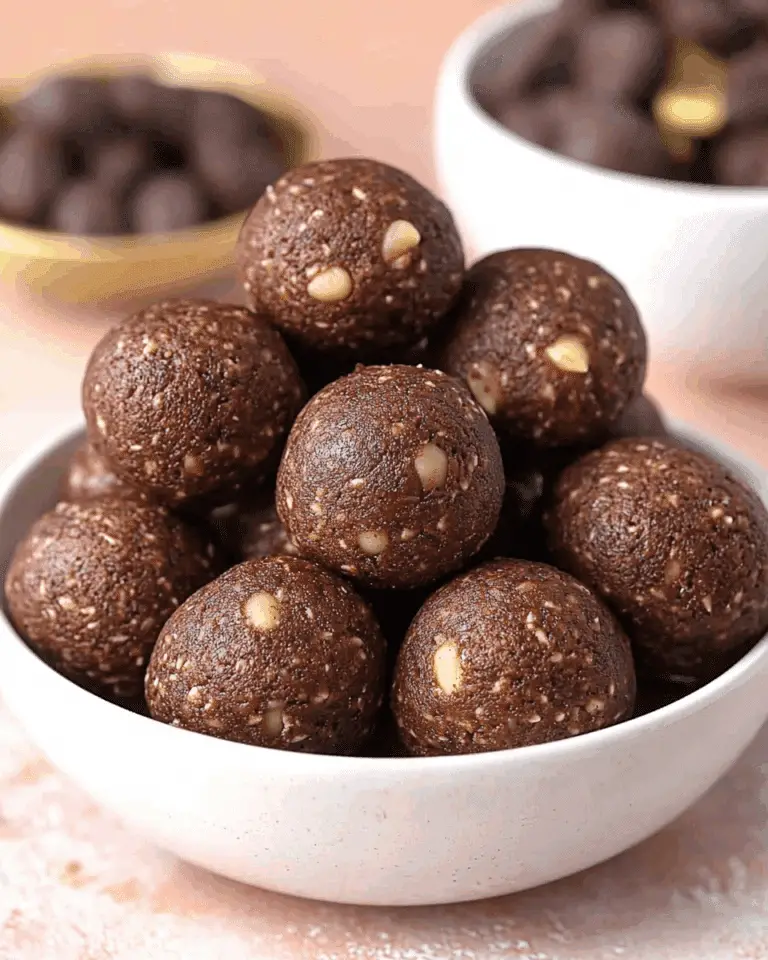
Chocolate Protein Balls
This creamy, low-carb Chile Relleno Soup combines roasted poblano peppers, chicken, and cheddar cheese for a comforting, flavorful bowl of goodness. Topped with melted cheese and served piping hot, it’s a hearty dish that will warm you up on any day.
- Total Time: 40 minutes
- Yield: 8 servings
Ingredients
- For the Soup:
- 4 medium poblano peppers
- 2 tablespoons butter
- ¼ cup chopped onion
- 2 cloves garlic, minced
- 1 teaspoon ground cumin
- 4 cups chicken bone broth
- Salt and pepper, to taste
- 1½ pounds boneless skinless chicken (thighs or breasts), cut into ½-inch pieces
- 8 ounces cream cheese
- 1½ cups shredded cheddar cheese
- 8 slices cheddar or pepper jack cheese (¾ ounce each)
Instructions
- Roast the Poblano Peppers: Roast the poblano peppers over an open flame or under the broiler until the skin is charred and blistered, turning occasionally. Place them in a bowl and cover with plastic wrap to steam. Once cooled, peel off the skin, remove the seeds, and finely chop the peppers in a food processor or blender. Set aside.
- Sauté Aromatics: In a large saucepan, melt butter over medium heat. Add the chopped onion and cook until translucent, about 5 minutes. Stir in minced garlic, cumin, and the chopped poblanos. Cook for 1 minute until fragrant.
- Simmer the Soup: Add chicken broth, salt, and pepper to the pot. Bring to a boil, then reduce heat and simmer. Add the chicken pieces and cook until the chicken is fully cooked through, about 10 minutes.
- Blend the Cheese: In a blender or food processor, combine the cream cheese, shredded cheddar, and 1 cup of the hot broth from the soup (avoid the chicken). Blend until smooth, then stir this mixture back into the soup.
- Broil the Cheese Topping: Preheat the broiler. Ladle the soup into ovenproof bowls and float a slice of cheese on top of each. Place the bowls under the broiler about 6 inches from the heat and broil until the cheese is melted and bubbly.
Notes
undefined
- Prep Time: 15 minutes
- Cook Time: 25 minutes
- Category: Soup
- Method: Roast, Simmer, Broil
- Cuisine: Mexican
Nutrition
- Serving Size: 1 serving
- Calories: 456
- Sugar: 3g
- Sodium: 736mg
- Fat: 34g
- Saturated Fat: 21g
- Unsaturated Fat: 11g
- Trans Fat: undefined
- Carbohydrates: 7g
- Fiber: 2g
- Protein: 31g
- Cholesterol: 140mg

