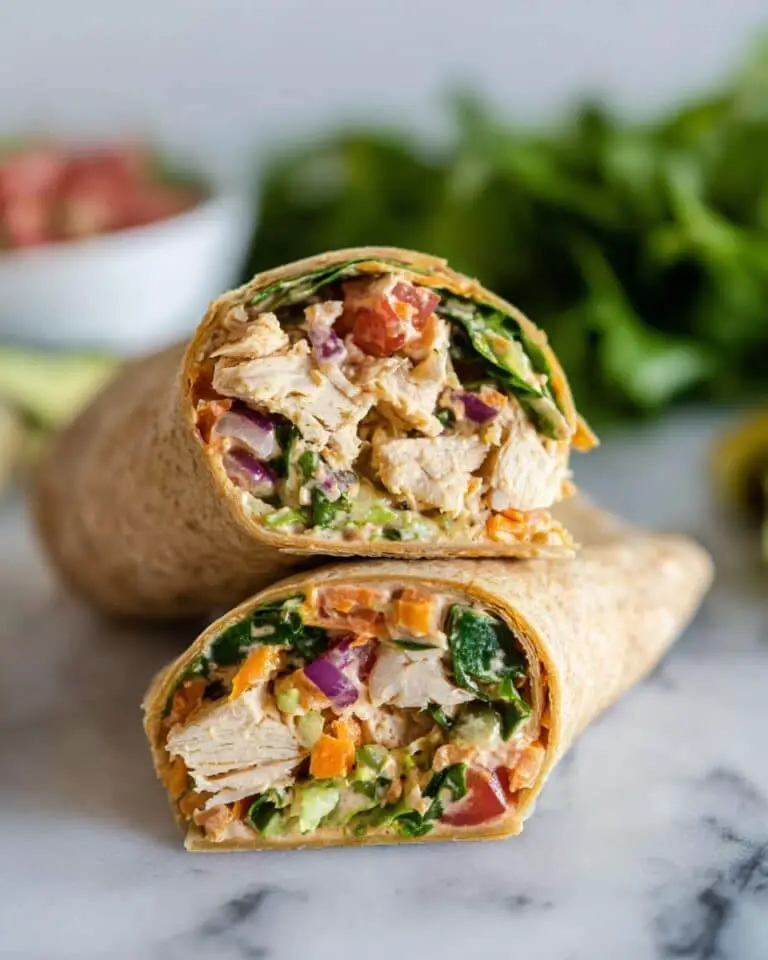
I love sharing this Gluten-Free Quinoa Spinach Wraps Recipe because it’s one of those dishes that surprised me from the very first bite. These wraps are delightfully soft, packed with nutrients, and wonderfully versatile, making them a staple in my kitchen. They strike a perfect balance of fresh spinach flavor with a subtle garlic kick, combined with the hearty texture quinoa brings. Whether I’m whipping up a quick lunch or prepping for a gathering, these wraps always steal the show without any gluten worries.
Why You’ll Love This Gluten-Free Quinoa Spinach Wraps Recipe
What truly makes this recipe stand out for me is the flavor profile. Unlike typical wraps that can sometimes feel bland or heavy, these quinoa spinach wraps boast a fresh, earthy taste from the leafy greens and a pleasant nuttiness from the quinoa. The subtle garlic and optional crushed red pepper add just the right amount of warmth and depth to every bite. I appreciate how they never feel dense or dry but rather soft and pliable, making them easy to fold or roll without cracking.
Aside from the taste, I find the preparation process delightfully straightforward. It’s a hands-on recipe that doesn’t require complicated techniques or long cooking times. Soaking the quinoa ahead gives the batter an excellent texture, and then it’s just blending and cooking in a skillet. It’s perfect for busy weeknights or when I want to impress friends with homemade goodness at a party. These wraps are genuinely a crowd-pleaser in my experience, whether served warm or at room temperature.
Ingredients You’ll Need

This recipe calls for simple, wholesome ingredients that each contribute to the flavor, texture, and color, making these wraps both delicious and nutritious.
- 1 cup dry quinoa: The star of the recipe, providing protein and a subtle nutty flavor that forms the base of the wrap.
- 1 ½ cups vegetable broth or water: Adds moisture and a touch of savory depth when using broth.
- 2 tablespoons chia seeds: Helps bind the batter together while adding extra fiber and omega-3s.
- 1 large clove garlic or 1 teaspoon garlic powder: Delivers a fragrant punch, enhancing the overall flavor profile.
- ½ teaspoon crushed red pepper (optional): Adds a gentle heat for those who like a little kick.
- ¾ cup chopped spinach or kale or leafy greens (optional): Boosts the color, nutrients, and fresh taste of the wraps.
- Salt or salt substitute to taste: Balances and lifts all the flavors perfectly.
Directions
Step 1: Start by soaking the quinoa in a bowl covered with water for at least 3 hours. This soaking step is crucial as it softens the quinoa, making the batter smoother and the wraps more tender.
Step 2: After soaking, drain the quinoa using a fine mesh sieve and rinse it thoroughly under running water. Drain it well again to remove excess moisture.
Step 3: Transfer the drained quinoa to a blender. Add the vegetable broth or water, chia seeds, garlic or garlic powder, crushed red pepper if using, chopped spinach or greens, and salt. Blend on high until the mixture is completely smooth. For best results, let the batter sit for at least 10 minutes to thicken slightly.
Step 4: Heat a non-toxic non-stick skillet over medium heat. Lightly spray with olive or avocado oil if you like, though I often skip this to keep things light.
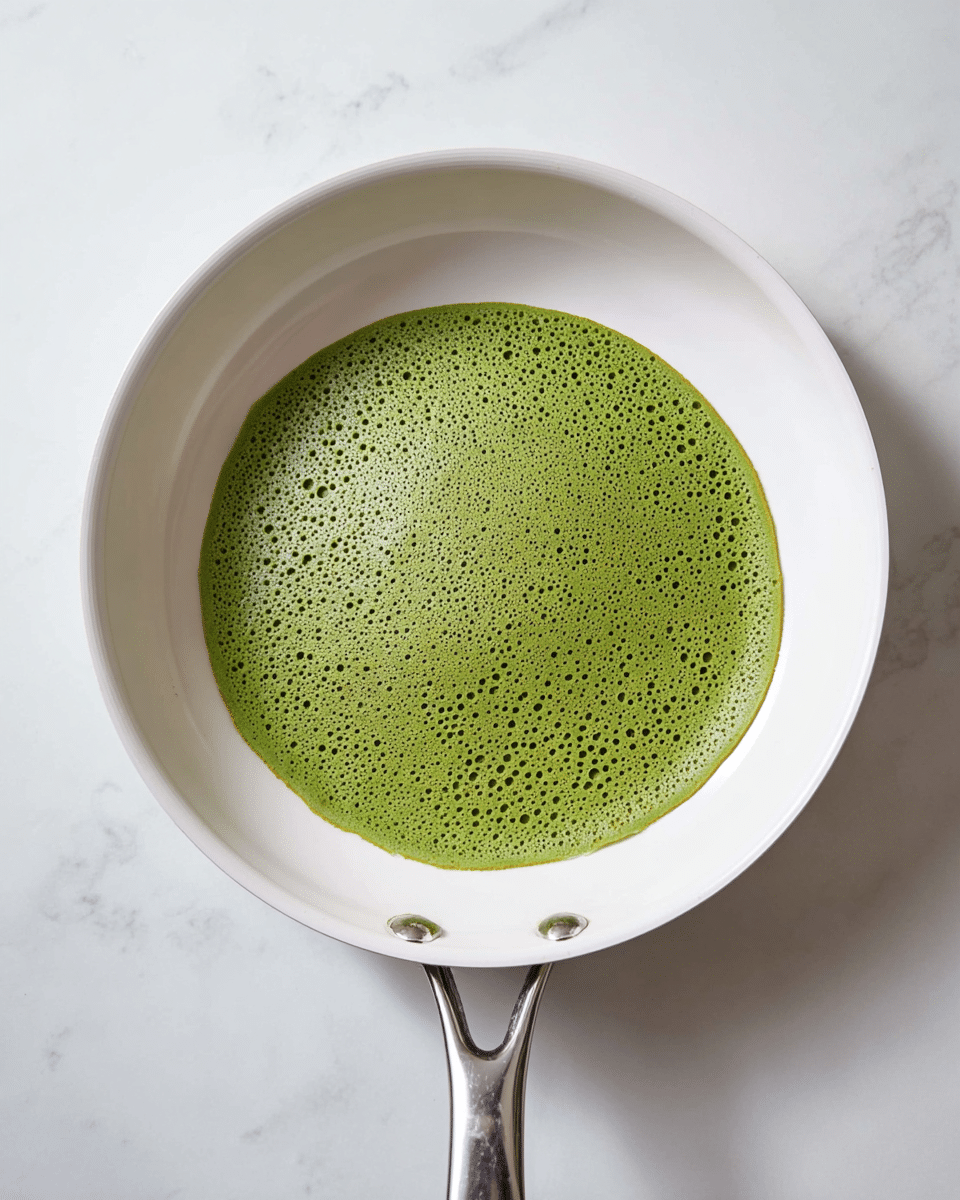
Step 5: Pour about ⅓ cup of the batter into the skillet. Using the back of a spoon or a measuring cup, quickly spread the batter into a thin, even circle. Avoid tilting the pan as this can cause uneven thickness.
Step 6: Cook the wrap for 4 to 5 minutes, watching carefully as bubbles begin to form on the surface and the bottom firms up.
Step 7: Flip the wrap gently and cook for another 2 to 3 minutes until fully cooked and tender. Adjust heat as needed to prevent burning.
Step 8: Transfer the cooked wrap to a plate and let it cool before stacking or filling. Repeat the process with the remaining batter, aiming for wraps to be thin for the best texture and flexibility.
Servings and Timing
This Gluten-Free Quinoa Spinach Wraps Recipe makes about 12 wraps, perfect for a family meal or small gathering. The prep time is mainly soaking, requiring about 3 hours, but the hands-on prep is just 5 minutes. Cooking takes roughly 10 minutes, so total active time is minimal—about 15 minutes from blending to plating. If you’re short on time, soaking quinoa early in the day or overnight helps streamline the process. These wraps hold their shape well and are ready to enjoy shortly after cooking.
How to Serve This Gluten-Free Quinoa Spinach Wraps Recipe
Whenever I serve these spinach wraps, I love pairing them with a variety of vibrant and fresh fillings. Roasted veggies, hummus, avocado slices, or grilled tofu make perfect companions. For something heartier, black beans, shredded chicken, or spicy chickpea salad all work beautifully to transform the wraps into satisfying meals. Crisp side salads, like a lemony cucumber salad or tangy coleslaw, complement the gentle flavors of the wraps wonderfully.
Presentation-wise, I find these wraps look stunning when garnished with a sprinkle of fresh herbs like parsley or cilantro. Rolling or folding them tightly before cutting them into small pinwheels also makes for attractive appetizer platters at parties. Serving them warm enhances their softness, but I’ve also enjoyed them room temperature for picnic lunches as they hold together nicely without getting soggy.
For beverages, I often reach for a crisp white wine like Sauvignon Blanc or a lightly sparkling water with a squeeze of lime. On casual weeknights, a chilled herbal iced tea or ginger lemonade pairs perfectly. These wraps are versatile enough for elegant gatherings or quick, nourishing everyday meals. I always recommend making them fresh and serving as soon as possible to experience their delightful softness and fresh flavor.
Variations
I love how this Gluten-Free Quinoa Spinach Wraps Recipe can be customized to fit different tastes and dietary needs. If you’re avoiding garlic or want a milder flavor, swapping garlic for a pinch of onion powder works great. For an extra protein boost, I sometimes add cooked lentils or hemp seeds into the batter. You can easily make this recipe vegan and gluten-free as is, but for a nutty twist, try adding ground almonds or flaxseed meal instead of chia seeds.
For flavor variations, mixing in fresh herbs such as basil, dill, or chives adds a beautiful twist. If you prefer spicy foods, increasing the crushed red pepper or adding a dash of smoked paprika creates a subtle smoky heat. Instead of spinach or kale, feel free to experiment with other greens like Swiss chard or finely chopped collard greens to vary color and nutrition.
In terms of cooking methods, while I recommend a non-stick skillet for ease, you can also use a cast-iron pan for a slightly crispier edge. I have even gently toasted leftover wraps in a sandwich press for a warm, grilled flavor. The key is to keep the wraps thin and cook over medium heat to ensure flexibility and avoid tearing.
Storage and Reheating
Storing Leftovers
Once cooked, these quinoa spinach wraps keep well in an airtight container in the refrigerator for up to 3 days. I usually separate layers with parchment paper to prevent sticking and moisture buildup. This simple step helps keep each wrap fresh and pliable for later use, making them perfect for quick meals throughout the week.
Freezing
You can freeze these wraps if you want to batch cook and store for future meals. I recommend placing parchment or wax paper between each wrap before stacking them in a freezer-safe container or zip-top bag. They keep best for up to 2 months in the freezer. When you’re ready to enjoy, thaw them in the refrigerator overnight to avoid sogginess.
Reheating
To reheat and restore tenderness, I warm the wraps gently in a dry skillet over low heat for about 1-2 minutes per side. Avoid microwaving when possible, as this sometimes makes the texture rubbery. If using a microwave, cover the wraps with a damp paper towel and heat in short bursts to retain moisture. Reheating slowly is the best way to bring back their soft, flexible texture for wrapping and rolling.
FAQs
Can I use other grains instead of quinoa for this wrap recipe?
While quinoa is unique for its protein content and texture, you could try alternatives like amaranth or millet, but the soaking and blending results may vary. Quinoa provides that perfect balance of texture and flavor that’s hard to replicate exactly.
Are these wraps suitable for people with nut allergies?
Yes! This Gluten-Free Quinoa Spinach Wraps Recipe uses chia seeds for binding and contains no nuts. It’s a safe, allergy-friendly option as long as you avoid cross-contamination in your kitchen.
How thin should I spread the batter for the best wraps?
I usually spread the batter thinly but not paper-thin—about 1/8 inch thick. Spreading too thick will make the wraps less flexible and harder to cook evenly, while too thin can cause tearing. Using the back of a spoon or measuring cup helps achieve just the right thickness quickly.
Can I make the batter ahead of time?
Definitely! The batter can be refrigerated for up to two days. If it thickens, just add a tablespoon or two of water and stir before cooking. This makes it perfect for prepping in advance and cooking fresh wraps when you’re ready.
What are some filling ideas that work well with these wraps?
I love fillings like roasted vegetables, avocado, hummus, shredded chicken, or marinated tofu. Fresh crunchy toppings like cucumber, sprouts, or carrot ribbons add delightful contrast. The wraps’ mild flavor pairs well with hearty or fresh fillings alike.
Conclusion
I truly hope you enjoy making and sharing this Gluten-Free Quinoa Spinach Wraps Recipe as much as I do. It’s a nutritious, flavorful, and satisfying way to enjoy gluten-free wraps that don’t sacrifice taste or texture. Whether it becomes a weekly staple or a special occasion treat, I know you’ll appreciate how simple ingredients can come together to create something truly delicious and nourishing.
Print
Gluten-Free Quinoa Spinach Wraps Recipe
Gluten-Free Quinoa Spinach Wraps are nutritious, plant-based tortillas packed with protein, fiber, and antioxidants. Made from soaked quinoa, chia seeds, and leafy greens, these wraps are a healthy, flexible alternative to traditional tortillas, perfect for vegan and vegetarian diets.
- Total Time: 3 hours 15 minutes
- Yield: 12 wraps
Ingredients
Basic Ingredients
- 1 cup dry quinoa
- 1 ½ cups vegetable broth or water
- 2 tablespoons chia seeds
- 1 large clove garlic or 1 teaspoon garlic powder
- ½ teaspoon crushed red pepper (optional)
- Salt or salt substitute to taste
Greens
- ¾ cup chopped spinach or kale or other leafy greens (optional)
Instructions
- Soak the quinoa: Add the quinoa to a bowl and cover it with water, soaking it for at least 3 hours to soften and prepare for blending.
- Rinse and drain: Drain the soaked quinoa using a fine mesh sieve, rinse thoroughly with water, then drain well to remove excess starch and water.
- Blend the batter: Combine the drained quinoa, vegetable broth or water, chia seeds, garlic, crushed red pepper (if using), chopped spinach or greens, and salt in a blender. Blend until smooth. For best results, let the batter sit for at least 10 minutes to improve consistency.
- Heat the skillet: Preheat a non-toxic, non-stick skillet over medium heat. Lightly spray the pan with olive oil or avocado oil if desired to prevent sticking.
- Cook the wraps: Pour about one-third cup of the batter into the skillet. Quickly spread the batter into a thin, even circle using the back of a spoon or measuring cup without tilting the pan.
- Cook bottom side: Let the wrap cook for 4 to 5 minutes, until the bottom is set and bubbles begin to form on the surface.
- Flip the wrap: Carefully flip the wrap and cook for another 2 to 3 minutes until fully cooked through and slightly golden.
- Repeat: Continue cooking the remaining batter in the same manner, adjusting heat as needed. Keep wraps thin for flexible texture and avoid sticking by letting cooked wraps cool before stacking.
Notes
- Refrigerate the batter for up to two days. If it thickens, add a bit of water and stir before cooking.
- Use a good quality non-toxic, non-stick skillet for easy cooking and cleanup.
- Keep wraps thin for best texture and flexibility.
- Let cooked wraps cool before stacking to avoid sticking.
- Prep Time: 5 minutes
- Cook Time: 10 minutes
- Category: Side Dish
- Method: Stovetop
- Cuisine: Vegan
- Diet: Vegan, Vegetarian


