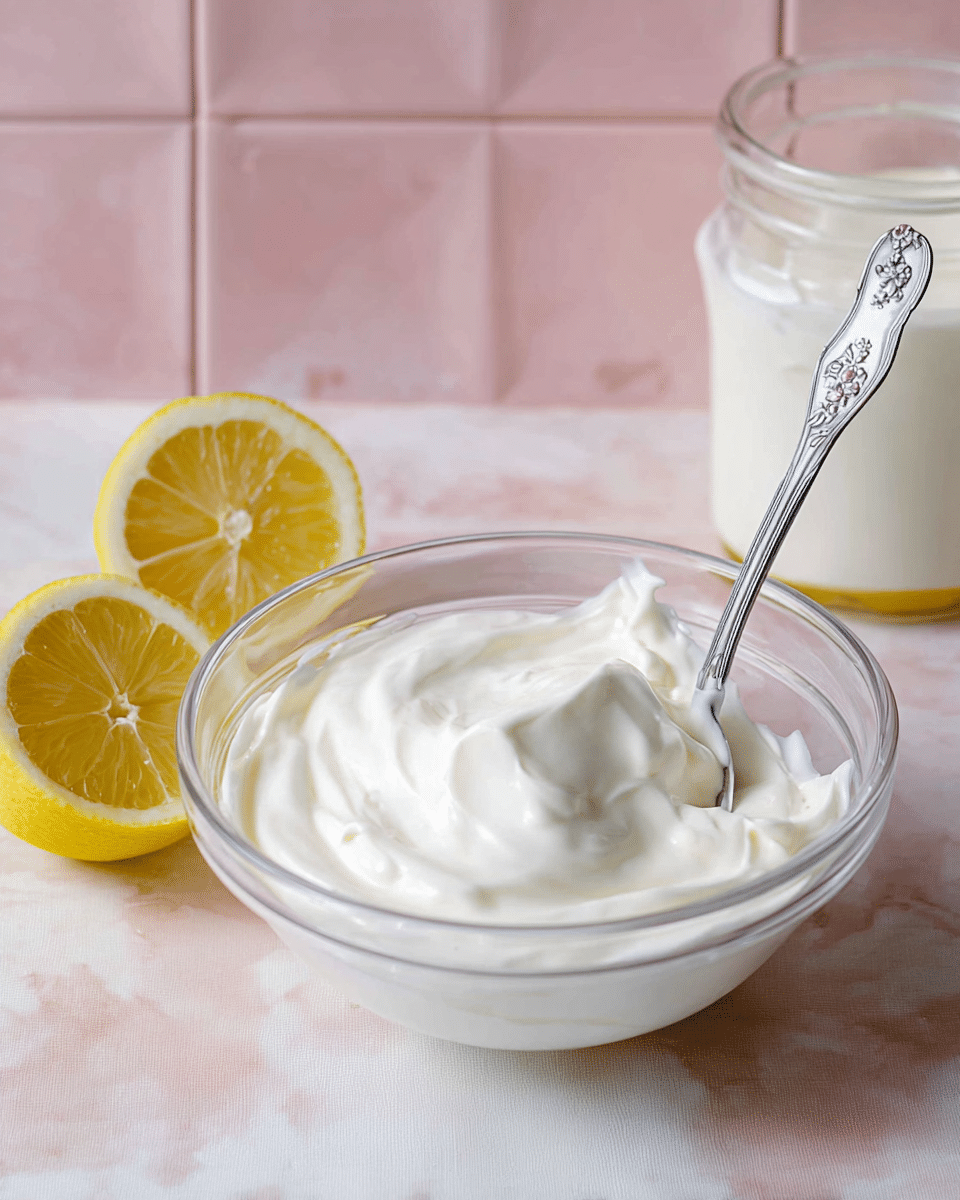
I’m so excited to share with you my favorite Homemade Cream Cheese from Scratch Recipe! Making cream cheese at home has always felt like a special kind of magic to me—the tangy, creamy texture you get is unlike anything from the store. Plus, it’s surprisingly simple, using just basic ingredients that you probably already have in your kitchen. Once you try this, you’ll never want to buy cream cheese again.
Why You’ll Love This Homemade Cream Cheese from Scratch Recipe
What makes this recipe truly special to me is that it delivers that perfect balance of rich creaminess and gentle tang right in my own kitchen. The flavor feels so fresh and pure, with just a hint of natural acidity from the lemon juice or vinegar. I love that it’s not overly processed or packed with preservatives like many commercial brands. It feels wholesome, and every spoonful bursts with a comforting homemade vibe.
Another thing I adore about this Homemade Cream Cheese from Scratch Recipe is how easy it is to make. Despite sounding fancy, it really just takes a bit of patience and simple stirring as the milk curdles. No complicated techniques or weird ingredients here! Plus, because it only takes about 25 minutes from start to finish, it’s an excellent option when you want something fresh, delicious, and made with love. I like making it for brunches, family dinners, or even as a gift for friends who appreciate real homemade goodness.
Ingredients You’ll Need
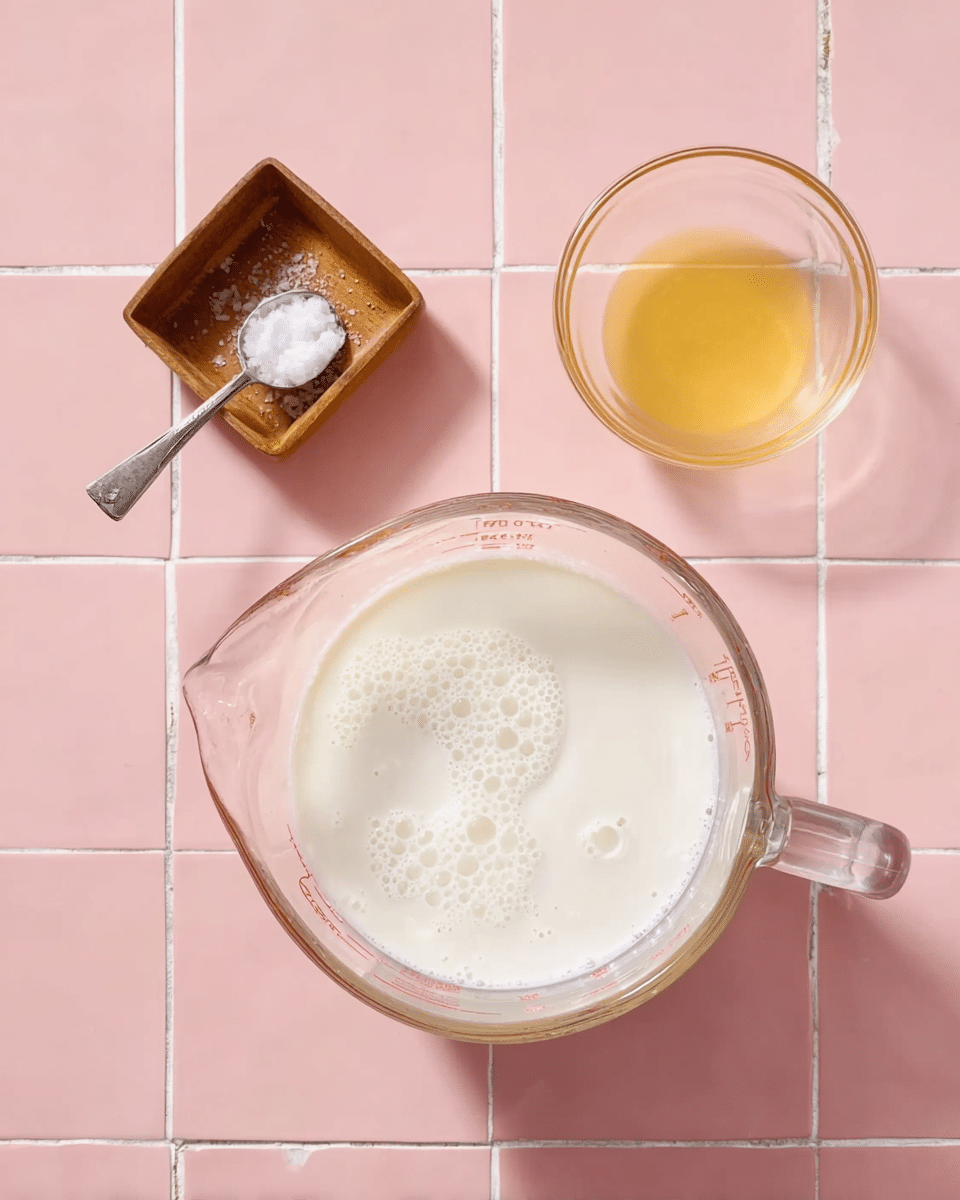
The ingredients here are wonderfully simple, but each one plays a vital role in creating the flavor, texture, and beautifully creamy consistency of the cream cheese. I always make sure to use good-quality whole milk; it’s the secret to that rich mouthfeel.
- 4 cups whole milk: Full-fat milk is essential for that creamy texture and deep flavor, nothing low-fat here.
- 2-3 tablespoons lemon juice: Fresh lemon juice adds that perfect tang and helps the milk curdle, but you can also use lime juice or white vinegar.
- ¼-½ teaspoon salt: Salt brings out flavor and balances the tang, so I recommend starting with less and adjusting to true personal taste.
Directions
Step 1: Pour the milk into a heavy-bottomed saucepan and warm it over medium-high heat. Stir consistently so the milk doesn’t scorch until it reaches a rolling simmer—watch carefully because this is the moment the magic starts!
Step 2: Lower the heat to medium, then add the lemon juice in tablespoons, waiting about a minute between each addition. Keep stirring constantly as the milk begins to curdle.
Step 3: Continue cooking and stirring until the mixture fully separates into curds (solid lumps) and whey (yellow liquid). This usually happens within a few minutes. Once you see those clear layers, remove the pot from heat.
Step 4: Line a large sieve with cheesecloth and place it over a bowl. Pour the curdled milk into the sieve, allowing the whey to drain out. Let it sit and cool for about 15 minutes for the best texture.
Step 5: Once cool, gather the cheesecloth and gently squeeze out the remaining whey from the curds. You don’t want them too wet, but keeping a bit of moisture helps with creaminess. (Save the whey for other recipes like pancakes or marinades—it’s a hidden treasure!)
Step 6: Transfer the curds to a food processor and blend until the cream cheese is luxuriously smooth, about 3 minutes. If the mixture feels too stiff or grainy, add a splash of reserved whey or cream to loosen it.
Step 7: Stir in salt to taste. This is also the moment to customize with herbs, garlic, or any other flavors you love. Now your fresh cream cheese is ready to enjoy!
Servings and Timing
This recipe yields about 1 cup of homemade cream cheese, which is perfect for a small gathering or to keep handy for daily use. Prep time is roughly 10 minutes, with 15 minutes of cooking and curdling needed. Plus, you want to allow about 15 minutes for the curds to strain and cool before the final blending. Altogether, you’re looking at about 25 to 30 minutes from start to finish.
How to Serve This Homemade Cream Cheese from Scratch Recipe
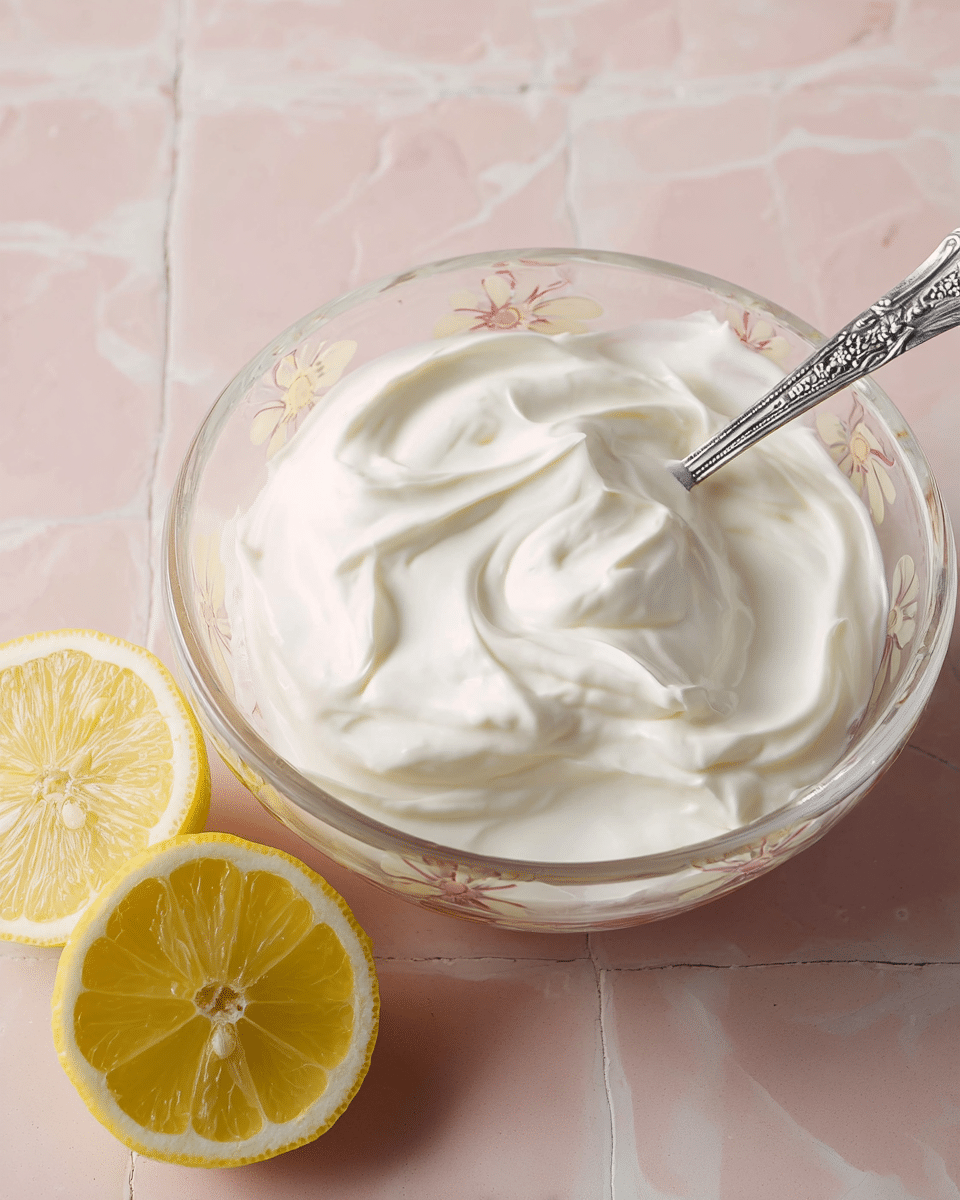
When it comes to serving this homemade cream cheese, I can’t get enough of pairing it with bagels and a drizzle of honey or fresh fruit jam for a classic breakfast delight. It’s also dreamy smeared on warm toast and topped with sliced tomatoes, avocado, or smoked salmon for a light lunch. Because the flavor is fresh and not too salty, it pairs beautifully with savory and sweet accompaniments alike.
Another favorite way I enjoy serving it is as a creamy dip base—just add fresh herbs, a little garlic, or even some spicy chili flakes. Spread it on crackers, crudité, or alongside roasted vegetables for a fantastic appetizer at parties. For presentation, I like to dollop it in a pretty bowl and garnish with a sprinkle of freshly chopped chives or paprika to make it pop.
To drink alongside, I find chilled white wines like Sauvignon Blanc or a crisp rosé pair wonderfully. For non-alcoholic options, a sparkling lemonade or iced tea complements the tangy cream cheese perfectly. Serving the cream cheese chilled or at room temperature lets its flavors shine without overwhelming the palate, making it versatile for casual weeknights or special holiday gatherings.
Variations
I love experimenting with this Homemade Cream Cheese from Scratch Recipe to suit different tastes and dietary needs. For a dairy-free version, you can try using coconut milk or cashew cream to create a similar textured spread, though the flavor will naturally be different but still deliciously creamy. You could also experiment with various vinegars if you don’t have fresh lemon juice on hand—white vinegar or apple cider vinegar both work well to curdle the milk.
If you want to add a flavor twist, I often mix in roasted garlic, fresh herbs like dill or basil, or even a bit of honey and cinnamon for a sweet spread. Another idea is to blend in sun-dried tomatoes or olives for a Mediterranean flair. This recipe is super versatile and welcomes your creativity!
For cooking methods, some folks have tried letting the curds drain naturally overnight in the fridge for an even firmer consistency, perfect for spreading on dense breads or using in baking. Whichever direction you take it, this recipe is a fantastic base that’s easy to adapt and make your own.
Storage and Reheating
Storing Leftovers
If you find yourself with leftover cream cheese, which is rare because it’s so good, just pop it into an airtight container and keep it refrigerated. I recommend glass containers with tight-fitting lids to keep the cream cheese fresh and prevent it from absorbing other fridge odors. Stored this way, it will stay good for up to 7 days. Always give it a quick sniff and stir before using again.
Freezing
Freezing homemade cream cheese is possible but I usually don’t recommend it because freezing can sometimes alter the texture, making it a little grainy once thawed. If you do want to freeze, place the cream cheese in a freezer-safe container and use it within 1 to 2 months. When you’re ready to use it, thaw slowly in the fridge overnight and give it a good stir to help bring back the creamy consistency.
Reheating
Since this cream cheese is best enjoyed cold or at room temperature, reheating isn’t generally necessary. If you do want to warm it slightly, maybe for a dip or spread, use gentle heat on the stovetop or microwave in short bursts, stirring frequently to avoid curdling or separating. Avoid high heat which can break down the texture. Often, simply letting it come to room temperature before serving does the trick beautifully.
FAQs
Can I use low-fat or skim milk for this cream cheese?
Low-fat or skim milk won’t yield the rich and creamy texture that whole milk provides. The fat content in whole milk is key to making your homemade cream cheese luscious and smooth, so I always recommend using full-fat milk for the best results.
What can I do with the leftover whey?
The whey you strain off is actually packed with nutrients and can be used in many creative ways! I like to use it as a base for pancakes or bread dough, as a marinade for meats, or just add it to smoothies for a protein boost. It’s a great way to reduce waste and add flavor to other dishes.
Is it necessary to use a food processor?
While you can mash the curds by hand with a fork or potato masher, using a food processor ensures your cream cheese is ultra-smooth and creamy. It also saves quite a bit of time and effort, especially if you’re making larger batches. For the best texture, I highly recommend the food processor step.
Can I add flavors directly while blending the cream cheese?
Absolutely! This is the perfect time to get creative by adding herbs, garlic, spices, or even fruits directly into the food processor. Blending them in helps distribute the flavors evenly throughout your homemade cream cheese.
How long does homemade cream cheese last in the fridge?
Because it’s fresh and free from preservatives, I generally use my homemade cream cheese within 7 days. Always keep it stored in an airtight container and check for any off smells or visible mold before use. Freshness makes all the difference in taste and safety.
Conclusion
If you’re looking for a simple yet incredibly satisfying way to elevate your cooking and impress yourself with a homemade delight, I wholeheartedly encourage you to try this Homemade Cream Cheese from Scratch Recipe. It’s like a little gift to your taste buds—fresh, creamy, and bursting with flavor. I promise once you make it, you’ll love having this versatile creamy spread ready for everything from breakfast to entertaining. Happy cooking, my friend!
Print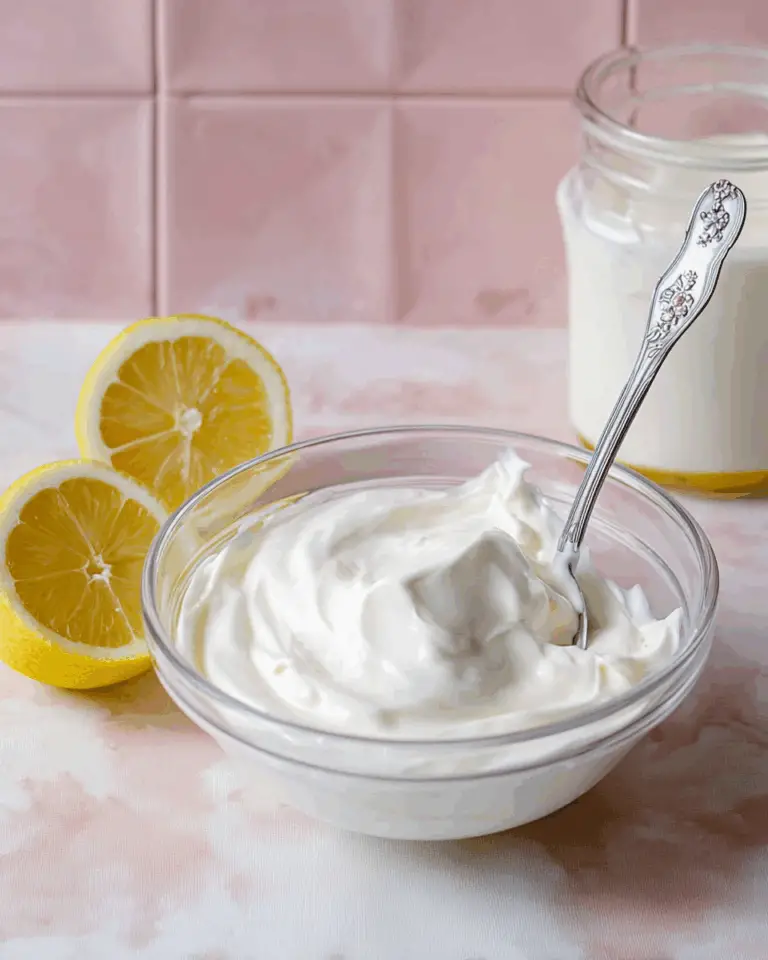
Homemade Cream Cheese from Scratch Recipe
This homemade cream cheese recipe is simple and quick, using just whole milk, lemon juice, and salt to create a rich, creamy, and tangy cream cheese perfect for spreading or cooking. The process involves gently heating milk to curdle it with acid, straining the curds, and blending them to a smooth texture, yielding fresh cream cheese with customizable flavor.
- Total Time: 25 mins
- Yield: 1 cup
Ingredients
Ingredients
- 4 cups (32 oz / 1000 ml) whole milk (full fat, not low fat)
- 2–3 tablespoons lemon juice (freshly squeezed, or lime juice or white vinegar as alternatives)
- ¼–½ teaspoon salt (to taste)
Instructions
- Heat the milk: In a heavy-bottomed saucepan, heat the whole milk over medium-high heat, stirring constantly until it reaches a rolling simmer.
- Add lemon juice gradually: Reduce heat to medium. Add the lemon juice one tablespoon at a time at one-minute intervals, stirring continuously to avoid burning.
- Curdle the milk: Continue stirring until the milk completely curdles and separates into thick curds and a yellowish liquid (whey). This separation should occur within a few minutes. Remove the pan from heat.
- Strain the curds: Line a large sieve with cheesecloth and place it over a large bowl. Pour the curdled mixture into the sieve and allow it to strain and cool for about 15 minutes.
- Drain excess whey: When cooled, use the cheesecloth to squeeze out excess whey from the curds. Reserve the whey for other uses if desired.
- Process the curds: Transfer the curds to a food processor and blend until very smooth and creamy, about 3 minutes. If the mixture is too grainy or stiff, add a splash of reserved whey or cream to loosen it.
- Season and customize: Add salt to taste, starting with ¼ teaspoon, and blend again. Optionally, incorporate herbs, garlic, or other flavors at this stage.
- Store the cream cheese: Transfer to a container and refrigerate. It is best used within 7 days for optimal freshness.
Notes
- Small curds: Lemon juice may produce smaller curds and less yield compared to vinegar; white vinegar or cider vinegar can be used as alternatives for more curd production.
- Salt adjustment: Start with ¼ teaspoon of salt and adjust according to your taste preferences.
- Whey usage: The leftover whey can be repurposed for marinades, bread making, pancakes, and more.
- Fresh lemon juice: For best results, use freshly squeezed lemon juice.
- Prep Time: 10 mins
- Cook Time: 15 mins
- Category: Ingredient
- Method: Stovetop
- Cuisine: American

