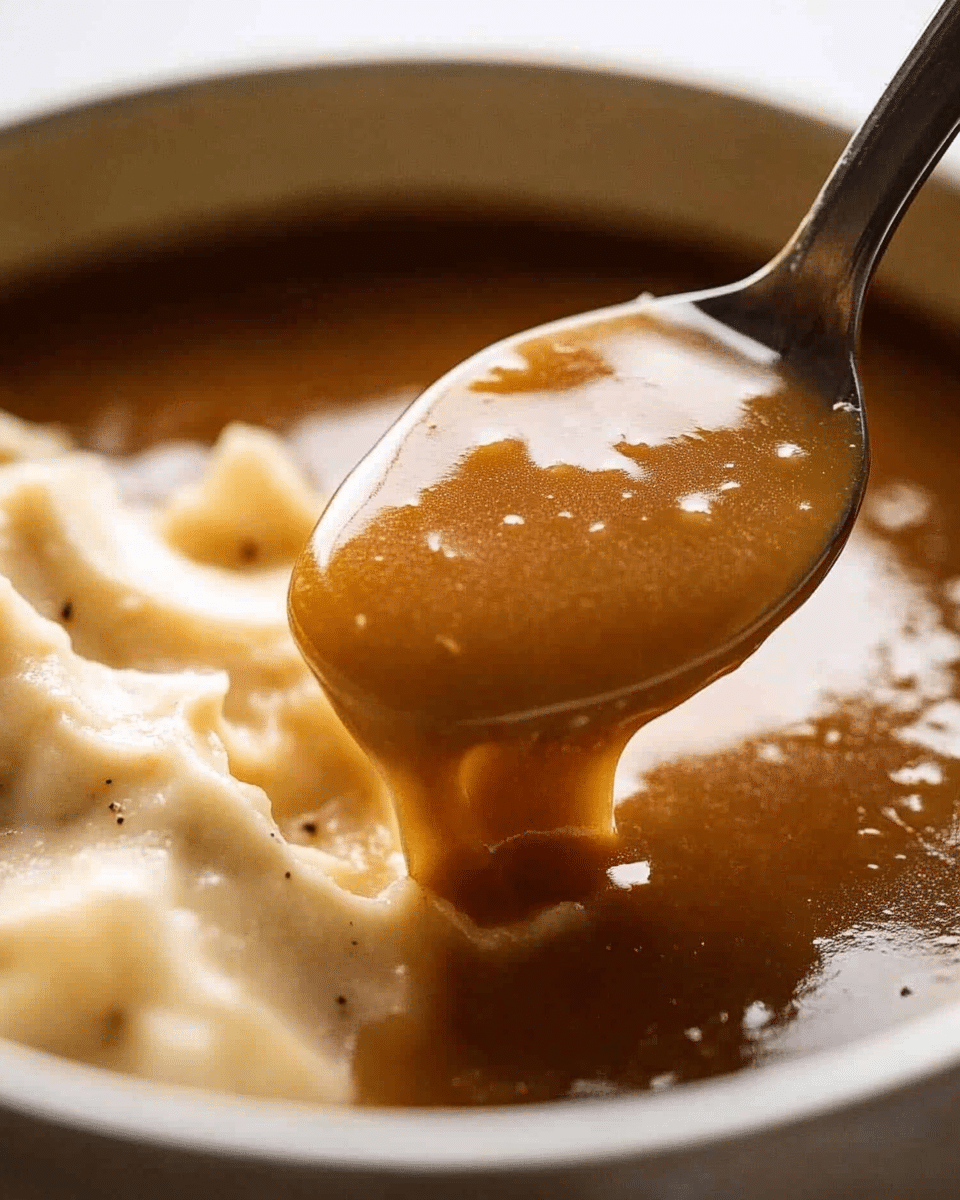
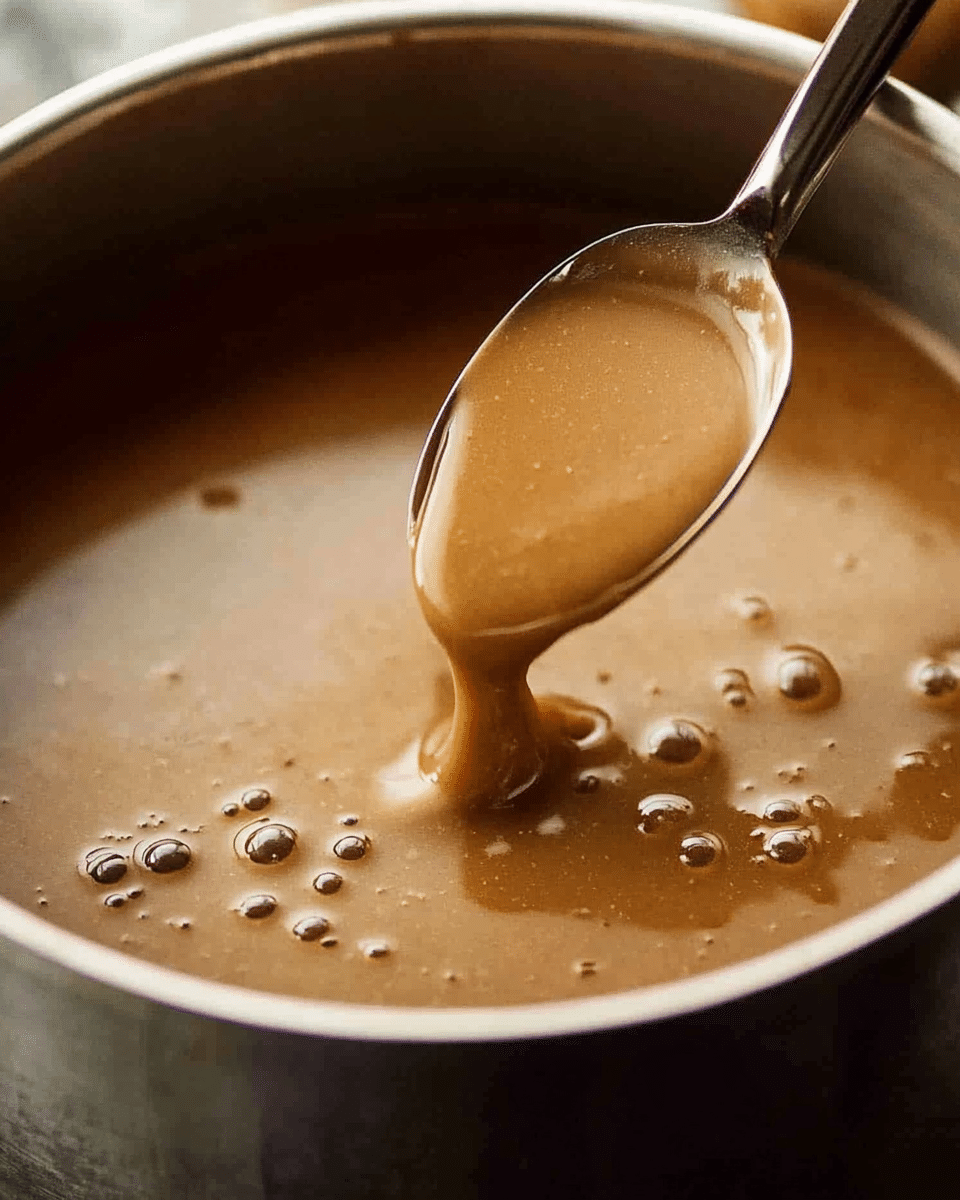
Making Gravy From Drippings is the ultimate way to elevate any roasted meat dish with a rich, homemade sauce. By using the flavorful juices left in the pan, this gravy is deeply savory, smooth and far superior to anything store-bought. Perfect for Sunday roasts, or any holiday dinner, this easy recipe shows you how to make a silky gravy with just a handful of ingredients.
Why You’ll Love This Recipe
-
Incredible flavor – Uses real pan drippings for unmatched taste.
-
No waste – Turns the leftover juices into something delicious.
-
Versatile – Works with beef, turkey, chicken, or lamb.
-
Simple ingredients – Uses pantry staples like flour, broth, and butter.
-
Customizable thickness – Easily adjusted to your desired consistency.
-
Beginner-friendly – Straightforward steps make this foolproof.
-
Better than store-bought – Fresh, real ingredients without preservatives.
-
Perfect holiday staple – A must-have for turkey or prime rib.
-
Make-ahead friendly – Reheats well and can be thinned as needed.
-
Comfort food essential – Brings together mashed potatoes, stuffing, and more.
Ingredients
(Tip: You’ll find the full list of ingredients and measurements in the recipe card below.)
-
Pan drippings from roasted meat
-
Up to 2 tablespoons unsalted butter
-
1/4 cup all-purpose flour (*see note for cornstarch option)
-
Up to 1 cup broth or stock (chicken, beef, turkey, or vegetable)
-
2 tablespoons whole milk
-
Salt to taste (preferably kosher salt)
Directions
-
After roasting your meat, pour the pan drippings into a measuring cup and refrigerate for 15 minutes.
-
Once chilled, skim 2 tablespoons of fat from the top and place it back into the roasting pan. If you don’t have enough fat, add unsalted butter to make 2 tablespoons total.
-
Add enough broth or stock to the remaining liquid in the cup to make 1 cup total.
-
Place the roasting pan (or a skillet if not stovetop-safe) over medium heat. Melt the fat and butter, scraping up any browned bits from the bottom of the pan for added flavor.
-
Stir in the flour to form a roux. Cook for 1 minute, stirring frequently, until lightly browned.
-
Slowly whisk in the drippings and broth mixture, stirring constantly to prevent lumps.
-
Bring the mixture to a boil, then reduce the heat and simmer for 3–5 minutes, or until thickened to your liking.
-
Remove from heat and stir in the milk for extra richness.
-
Taste and season with salt as needed. Serve warm.
Servings and timing
-
Yield: 1 cup
-
Prep Time: 20 minutes (includes chilling drippings)
-
Cook Time: 10 minutes
-
Total Time: 30 minutes
Variations
-
Gluten-free: Use cornstarch instead of flour (see FAQ for method).
-
No milk: Omit for a dairy-free version, or replace with a splash of cream or unsweetened non-dairy milk.
-
Herb infusion: Add fresh thyme, rosemary, or sage for more complexity.
-
Garlic flavor: Sauté minced garlic in the fat before adding flour.
-
Spicy twist: Add a pinch of cayenne or black pepper for heat.
-
Vegetarian: Use butter and veggie stock with umami-rich ingredients like mushrooms.
-
Mushroom gravy: Add sautéed mushrooms before thickening the sauce.
-
Mustard note: Stir in a teaspoon of Dijon mustard for a zippy finish.
-
Soy-based: Add a splash of soy sauce for an umami boost in beef gravies.
Storage/Reheating
-
Refrigerator: Store in an airtight container for up to 4 days.
-
Freezer: Freeze for up to 2 months. Thaw in the fridge overnight before reheating.
-
Reheating: Warm in a saucepan over medium-low heat. Add a splash of broth if needed to loosen the texture.
FAQs
Can I use cornstarch instead of flour?
Yes. Mix 2 tablespoons of cornstarch with 2 tablespoons of cold water to form a slurry. Stir into the hot broth and drippings mixture and simmer until thickened.
What meats can I use for the drippings?
Beef, chicken, turkey, and lamb all work. Just match the broth flavor to the meat for best results.
What if I don’t have enough drippings?
Supplement with broth and a bit of butter or fat. The browned bits in the roasting pan still add great flavor.
Can I make it ahead of time?
Yes. Make the gravy, cool completely, and refrigerate. Reheat gently with extra broth to loosen if it thickens too much.
Is milk necessary?
No, but it adds a touch of creaminess. You can omit it or substitute with non-dairy milk if needed.
My gravy is too thin. How can I fix it?
Simmer a few minutes longer to reduce, or stir in a cornstarch slurry to thicken.
My gravy is too thick. What should I do?
Thin with a little extra broth or water while reheating.
How can I make a darker gravy?
Use darker stock (like beef), and let the roux cook until deep golden brown before adding the liquid.
Can I freeze leftover gravy?
Yes. Cool completely, pour into freezer-safe containers, and freeze for up to 2 months.
What can I serve this gravy with?
Roast beef, turkey, chicken, mashed potatoes, stuffing, Yorkshire pudding, and even fries!
Conclusion
Homemade Gravy From Drippings is the secret to elevating any roasted meat dish from good to great. With just a few pantry staples and the flavorful juices left behind in your roasting pan, you can whip up a rich, smooth, and savory sauce in minutes. Perfect for holiday dinners, Sunday roasts, or weeknight meals, this classic recipe is one you’ll return to time and time again.
Print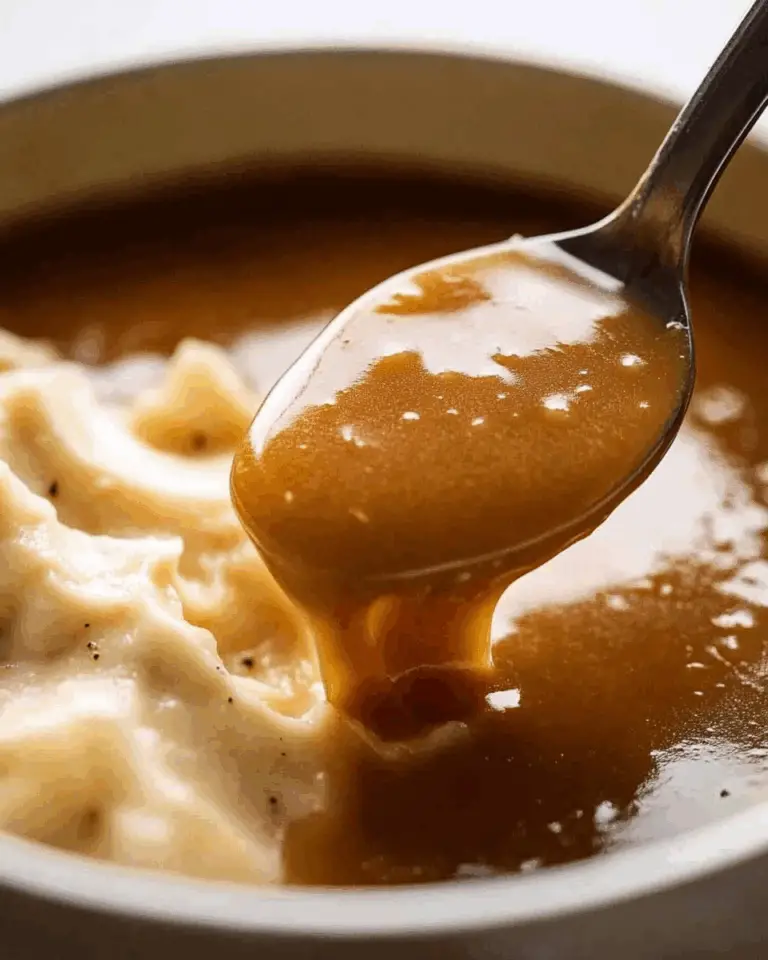
Gravy From Drippings
This easy Gravy From Drippings recipe teaches you how to make rich, flavorful gravy from roasted meat drippings. Perfect for Sunday roasts or holiday meals, this homemade sauce is thickened with a simple roux and finished with a splash of milk for creaminess.
- Total Time: 30 minutes
- Yield: 1 cup
Ingredients
- Pan drippings from roasted meat
- Up to 2 tablespoons unsalted butter (if needed to supplement fat)
- 1/4 cup all-purpose flour (see note for cornstarch substitution)
- Up to 1 cup broth or stock (to match meat type)
- 2 tablespoons whole milk
- Kosher salt, to taste
Instructions
- Pour the meat drippings into a measuring cup and refrigerate for 15 minutes to allow the fat to separate.
- Skim 2 tablespoons of fat from the top and place in the roasting pan. Discard the rest of the fat. If there’s not enough fat, supplement with butter to total 2 tablespoons.
- Add enough broth to the remaining drippings to equal 1 cup of liquid.
- Place the roasting pan on the stovetop over medium heat (or transfer contents to a skillet if needed). Melt the fat and butter, scraping up any brown bits in the pan.
- Stir in the flour to create a roux. Cook for 1 minute, stirring constantly, until lightly browned.
- Slowly whisk in the drippings and broth mixture. Bring to a boil and cook for 3–5 minutes, or until thickened.
- Remove from heat and stir in the milk. Taste and adjust salt as needed.
- Note: Gravy thickens as it cools. Reheat and add a splash of broth if needed to thin.
Notes
- For a gluten-free option, substitute 2 tablespoons cornstarch for flour and whisk into cold broth before adding to pan.
- Use beef broth for red meat, chicken broth for poultry, or vegetable broth for a milder flavor.
- Add herbs like thyme or rosemary for extra flavor.
- This recipe yields approximately 1 cup of gravy.
- Prep Time: 20 minutes
- Cook Time: 10 minutes
- Category: Sauce
- Method: Stovetop
- Cuisine: American
- Diet: Gluten Free
Nutrition
- Serving Size: 2 tablespoons
- Calories: 60
- Sugar: 0 g
- Sodium: 120 mg
- Fat: 4.5 g
- Saturated Fat: 2.5 g
- Unsaturated Fat: 2 g
- Trans Fat: 0 g
- Carbohydrates: 3 g
- Fiber: 0 g
- Protein: 1 g
- Cholesterol: 12 mg

