I am so excited to share my favorite Cast Iron Skillet Chicken Pot Pie Recipe with you because it combines everything I love about comfort food: flaky crust, creamy filling, and hearty chunks of chicken cooked right in my trusty cast iron skillet. This dish is the perfect balance of savory flavors and cozy textures, all come together with minimal fuss but maximum satisfaction. When I make this pot pie, it feels like a warm hug on a plate, and I know you’re going to love it just as much as I do!
Why You’ll Love This Cast Iron Skillet Chicken Pot Pie Recipe
What really makes this recipe stand out for me is the flavor. The rich, creamy filling with tender chicken, earthy vegetables, and just the right touch of herbs creates a delicious depth that’s so satisfying. I love how the buttery crust crisps up beautifully on top when baked in the skillet, adding that irresistible contrast in texture that makes every bite special. It’s the kind of meal that feels both indulgent and homemade, without requiring hours in the kitchen.
The ease of preparation is another huge reason I keep coming back to this recipe. Using a cast iron skillet means I only need one pan for both cooking the filling and baking the pot pie, which saves time on cleanup and makes the process feel really seamless. I’ve served this dish at casual weeknight dinners, cozy family gatherings, and even on special occasions because it’s just that versatile. Whenever I want to impress without stressing, this Cast Iron Skillet Chicken Pot Pie Recipe is my go-to comfort food.
Ingredients You’ll Need
The ingredients for this recipe are delightfully simple but essential in building those layers of flavor and comfort. Each one plays a role, whether it’s adding creaminess, freshness, or that perfect golden finish to the crust.
- Chicken breast or thighs: Tender, cooked chicken is the star protein that makes this pot pie hearty and filling.
- Butter: Use for sautéeing veggies and adding richness to the filling and crust.
- Vegetables (carrots, peas, celery, onions): These bring sweetness, texture, and classic pot pie flavor.
- Flour: Helps thicken the creamy sauce so it clings beautifully to every bite.
- Chicken broth: For depth and moisture in the filling.
- Heavy cream or milk: To create that luscious, silky texture in the sauce.
- Puff pastry or pie crust: The flaky top that seals in all the goodness and adds buttery crunch.
- Herbs and seasonings (thyme, parsley, salt, pepper): These lift the whole dish with fresh, aromatic notes.
Directions
Step 1: Preheat your oven to 400°F (200°C). This will ensure the crust crisps up perfectly while the filling bubbles gently underneath.
Step 2: In your cast iron skillet, melt butter over medium heat. Add diced onions, carrots, and celery, cooking until they soften and become fragrant, about 5 to 7 minutes.
Step 3: Stir in the flour and cook for 1 to 2 minutes. This step is crucial to cook out the raw flour taste and start thickening the sauce.
Step 4: Slowly whisk in the chicken broth and cream, stirring constantly until the mixture thickens and becomes creamy—about 3 to 5 minutes. You’ll see it transform into that classic pot pie filling.
Step 5: Add cooked, diced chicken, peas, and your herbs. Season generously with salt and pepper. Stir well and let it heat through for another 2 minutes on the stove.
Step 6: Remove the skillet from heat and lay your pie crust or puff pastry over the filling, trimming any excess and pressing the edges to seal. Cut a few small slits in the top to allow steam to escape while baking.
Step 7: Place the skillet in the preheated oven and bake for 25 to 30 minutes, or until the crust is golden brown and crisp. Keep an eye on it towards the end to avoid any burning.
Step 8: Let the pot pie rest for about 10 minutes after baking before serving. This helps the filling set so it’s not too runny when sliced.
Servings and Timing
This Cast Iron Skillet Chicken Pot Pie Recipe yields about 4 to 6 hearty servings, perfect for a family meal or sharing with a few friends. The prep time is roughly 20 minutes, mostly chopping and getting the filling started. Cooking time on the stove takes about 15 minutes, followed by 25 to 30 minutes in the oven. Including resting time, you’re looking at around 60 minutes total from start to finish. It’s all worth it, I promise!
How to Serve This Cast Iron Skillet Chicken Pot Pie Recipe
I love serving this pot pie straight from the skillet while the crust is still warm and golden. It’s wonderful paired with a crisp green salad dressed in a light vinaigrette to cut through the richness. Roasted or steamed green beans and a simple, chilled cucumber salad add fresh contrast and keep the meal balanced.
For presentation, sprinkling some freshly chopped parsley or thyme leaves over the crust adds a nice pop of color and makes the dish look as vibrant as it tastes. I usually scoop generous portions onto plates so each serving gets plenty of that luscious filling and flaky crust.
As for drinks, this recipe goes beautifully with a lightly chilled Chardonnay or a fruity Pinot Noir, but if you prefer non-alcoholic options, sparkling apple cider or a herbal iced tea is a refreshing match. I’ve found this dish shines during chilly evenings, holidays, or any time I want to share a comforting, home-cooked meal that really feels special.
Variations
Over time, I’ve experimented with a few variations to make this recipe work for different tastes and dietary needs. If you’re short on time, using rotisserie chicken or leftover cooked chicken works wonderfully without sacrificing flavor. For a gluten-free version, I swap the traditional flour for a gluten-free flour blend and use a gluten-free pie crust, which still delivers on texture and taste.
If you enjoy bold flavors, try adding a splash of white wine to the filling or incorporating mushrooms and leeks for an earthy twist. Vegetarians can swap the chicken for hearty mushrooms or chickpeas and use vegetable broth in place of chicken broth. Baking in the skillet remains the best method for that perfect crust and filling harmony, but if you prefer, you can assemble in a baking dish instead.
Storage and Reheating
Storing Leftovers
When I have leftovers, I let the pot pie cool completely before transferring it to an airtight container. It stores well in the refrigerator for up to 3 days. I find that leaving it in the skillet with a loose cover works too if you plan to eat it out of the same dish. Just be sure to cool the pie to avoid condensation buildup.
Freezing
This pot pie freezes nicely if you want to make it ahead. I wrap the entire assembled but unbaked pie tightly in plastic wrap followed by foil, or freeze the filling and crust separately in freezer-safe containers. Frozen pot pie is best eaten within 2 months for optimal flavor and texture. When ready, thaw overnight in the fridge before baking.
Reheating
To reheat leftover pot pie, I prefer warming it in the oven at 350°F until heated through, usually 20 to 25 minutes. This method helps keep the crust crisp instead of soggy. I avoid microwaving as it tends to make the crust chewy and loses the wonderful textures. A quick broil at the end can refresh the crust beautifully.
FAQs
Can I use frozen vegetables in this recipe?
Absolutely! Frozen peas and carrots work great and make the recipe even faster. Just thaw them slightly before adding to the filling to maintain the perfect texture.
What type of chicken works best for this pot pie?
I prefer boneless, skinless chicken breasts or thighs cooked and diced. You can poach, roast, or use leftovers. Thighs give a juicier, richer texture, but breasts are leaner and still tasty.
Can I make this recipe dairy-free?
Yes! Substitute butter with olive oil or dairy-free margarine, use coconut cream or any plant-based milk thickened with cornstarch, and choose a dairy-free crust. The flavors will still be deliciously comforting.
Is cast iron essential for this recipe?
While cast iron gives the best crust and holds heat beautifully, you can use an oven-safe skillet or even a baking dish. Just keep in mind the crust may not be quite as crisp without cast iron’s heat retention.
How do I prevent the crust from burning?
Make sure to watch the pot pie closely during the last 10 minutes of baking. If the edges start to overbrown, loosely cover them with foil to protect from burning while the center finishes baking.
Conclusion
Cooking this Cast Iron Skillet Chicken Pot Pie Recipe always feels like a rewarding experience, and the end result is a warm, delicious meal that brings smiles around the table. I hope you’ll give this recipe a try soon—it’s a perfect way to enjoy homemade comfort food with minimal effort and maximum love. Once you taste that buttery crust paired with creamy, flavorful filling, I bet this pot pie will become a favorite in your home just like it is in mine!
Print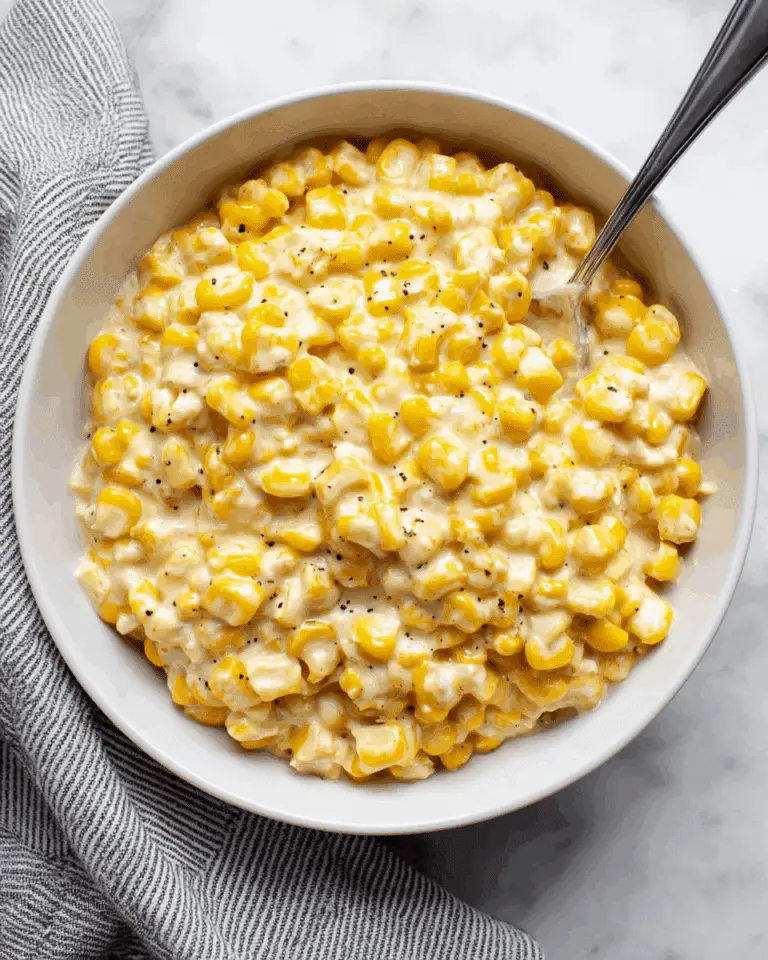
Cast Iron Skillet Chicken Pot Pie Recipe
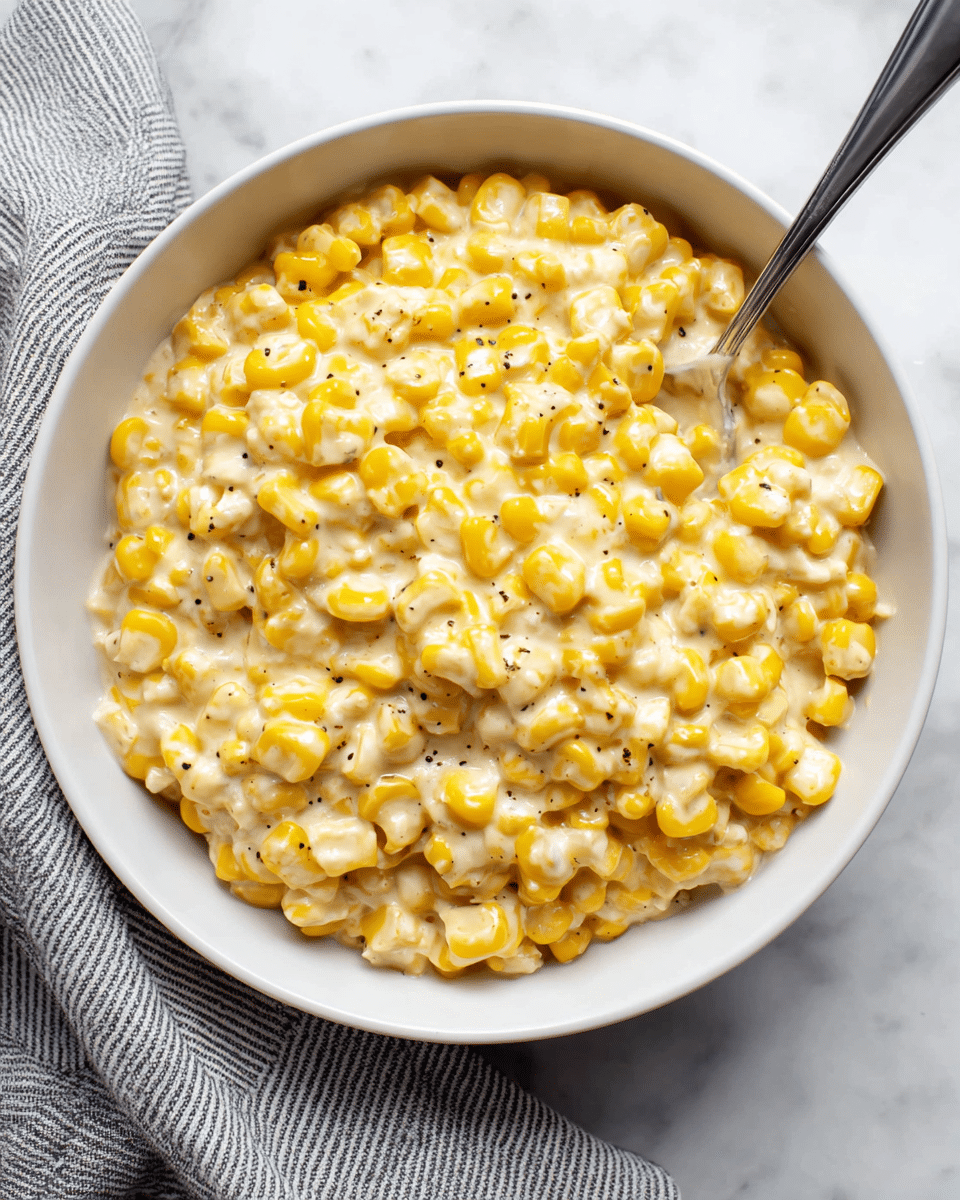
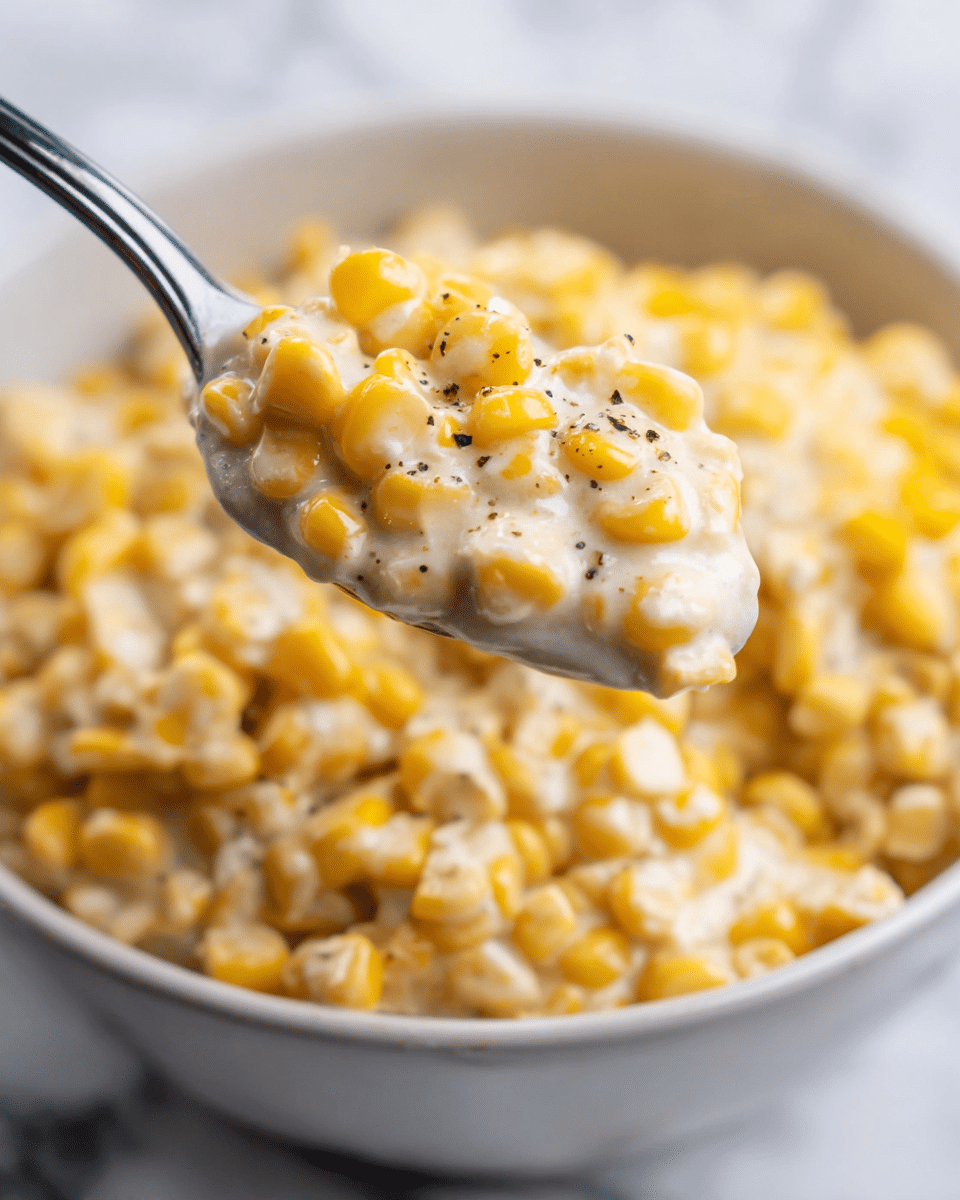
Honey Butter Skillet Corn is a quick and creamy side dish combining sweet corn with luscious butter, honey, and cream cheese. Ready in just 15 minutes, this comforting and flavorful dish pairs wonderfully with a variety of meals, bringing a rich, sweet, and slightly tangy touch to your table.
- Total Time: 15 minutes
- Yield: 6 servings
Ingredients
Main Ingredients
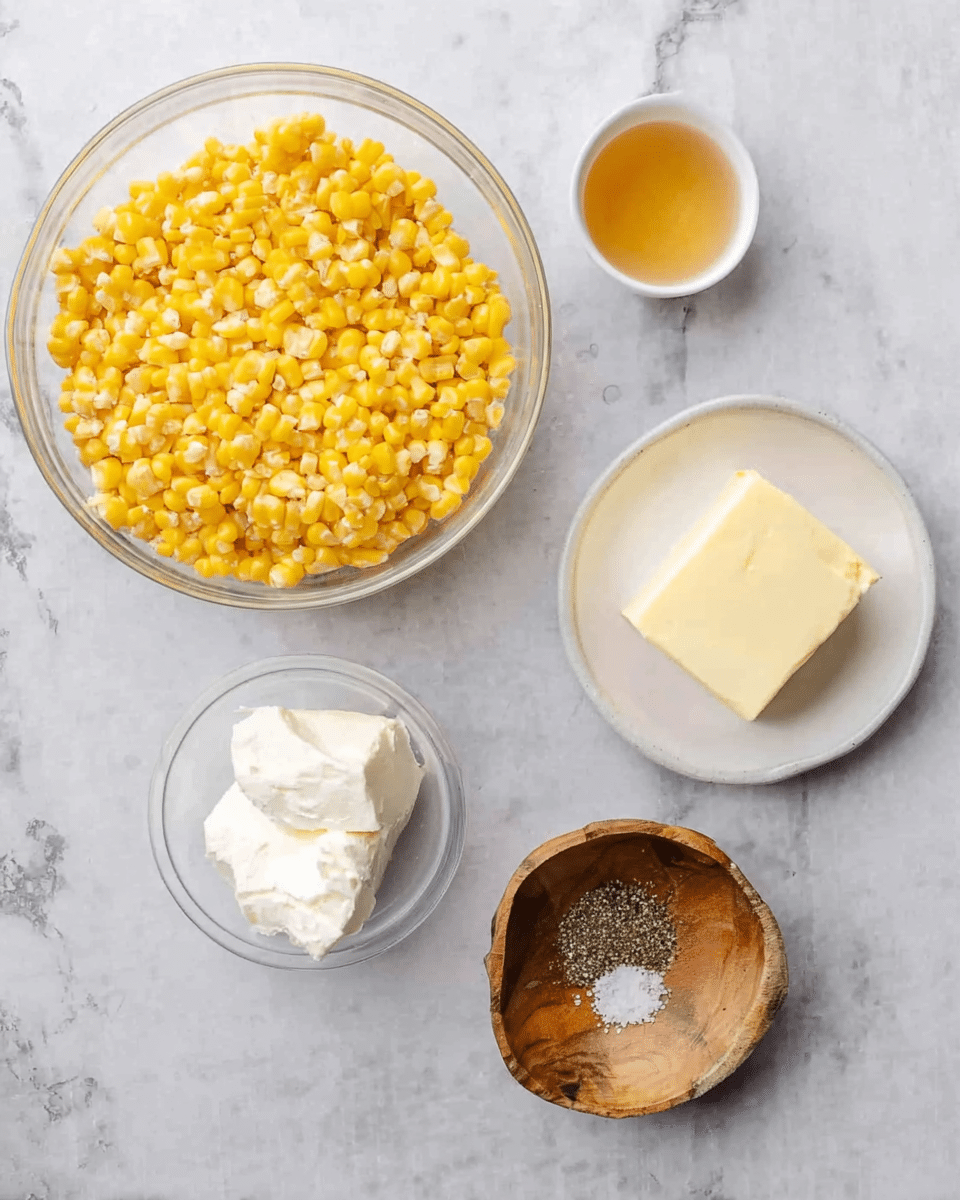
- 2 (10 oz.) packages frozen corn, thawed
- 3 tablespoons butter
- 2 tablespoons honey
- 4 tablespoons cream cheese, softened
- 1/2 teaspoon coarse sea salt
- 1/8 teaspoon pepper
Instructions
- Sauté the Corn: Heat a skillet over medium heat. Add the thawed corn and sauté, stirring occasionally, until the corn is soft and heated through, approximately 5 minutes.
- Add Butter and Honey: Stir in the butter and honey, mixing well until both have melted smoothly into the warm corn, creating a glossy, sweet coating.
- Incorporate Cream Cheese and Season: Add the softened cream cheese to the skillet. Season with coarse sea salt and pepper. Stir continuously until the cream cheese fully melts and integrates into the sauce, making it creamy and rich. Taste and adjust seasoning as needed.
- Serve Hot: Transfer the honey butter skillet corn to a serving dish and enjoy immediately while warm.
Notes
- Add a pop of color and freshness with chopped fresh parsley, chives, or green onions.
- For extra richness, sprinkle grated Parmesan cheese over the top just before serving.
- If you like a bit of heat, stir in red pepper flakes or diced jalapenos to balance the sweetness with spice.
- Prep Time: 5 minutes
- Cook Time: 10 minutes
- Category: Side Dish
- Method: Stovetop
- Cuisine: American

